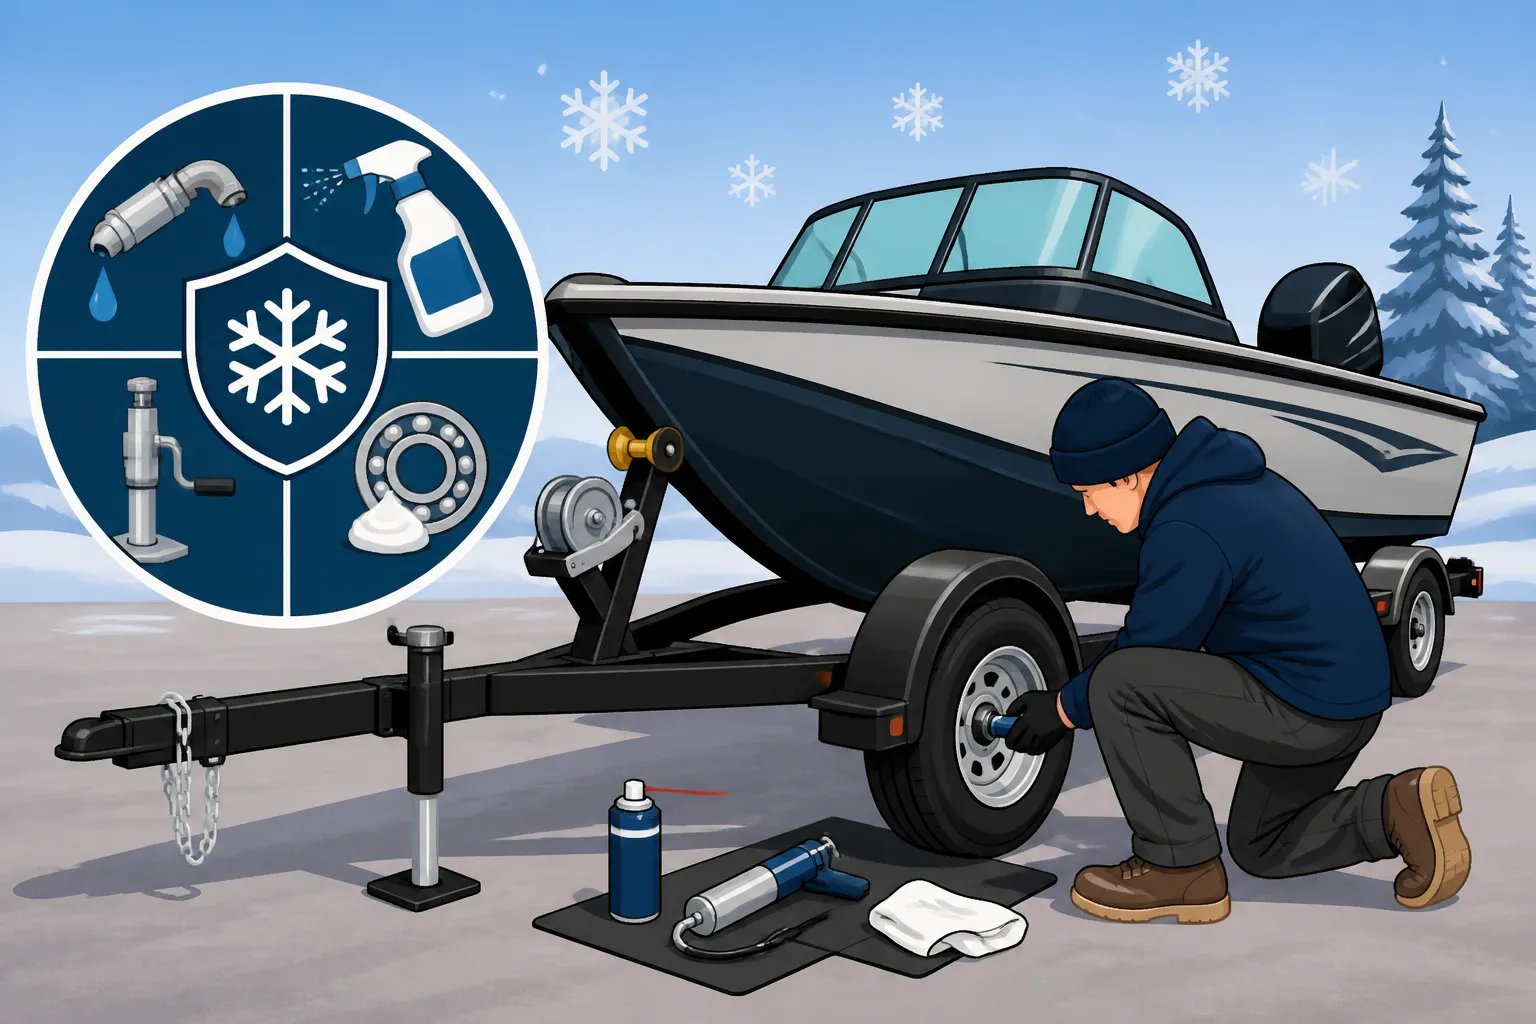
How to Winterize a Boat Trailer
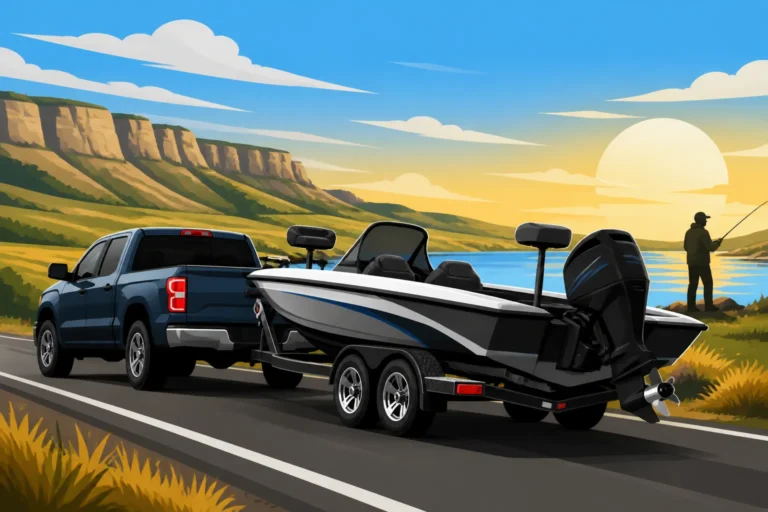
The end of a glorious North Dakota fishing season often brings a mix of satisfaction and a touch of dread, especially when you start thinking about winterizing. While the boat itself gets most of the attention, neglecting your boat trailer can lead to serious headaches and costly repairs come spring. This guide is here to tackle that often-overlooked chore, walking you through how to properly prepare your boat trailer for our notoriously harsh North Dakota winters, ensuring it's ready to roll when the ice finally breaks.
Why Trailer Winterization Matters in North Dakota
Living and fishing in North Dakota means dealing with extreme cold, heavy snow, and often, a generous dose of road salt. These aren't just minor inconveniences; they are genuine threats to the longevity and safety of your boat trailer. Ignoring proper winterization can turn a simple pre-season check into a scramble for expensive parts and last-minute repairs, eating into your precious early-season fishing time. It’s not just about getting the boat ready; it’s about making sure the whole rig is sound.
The Cost of Neglect Rust, Bearings, Tires
Let's be honest, we've all been tempted to just park the boat and trailer in the corner of the yard and call it good after a long season. But imagine pulling your boat out of storage next spring, only to find your trailer tires cracked and deflated, the wheel bearings grinding, or a new patch of rust blooming across the frame. These aren't just cosmetic issues; they are functional failures that can leave you stranded on the side of a highway or, worse, cause an accident. The combination of moisture from melted snow, fluctuating temperatures, and corrosive road salt creates a perfect storm for metal degradation, seizing parts, and rubber deterioration.
Think about the metal frame of your trailer. It's designed to withstand abuse, but constant exposure to salty slush can quickly accelerate corrosion. Rust can weaken structural integrity, especially at weld points or where paint has chipped. Then there are the wheel bearings, often out of sight, out of mind. If moisture gets into those bearings and sits there all winter, it'll corrode the races and rollers, leading to failure. Replacing a rusted trailer frame or seized bearings isn't a quick fix, and the labor and parts costs can really add up, easily surpassing the small investment of time and materials for proper winterization. Taking a little time now truly saves a lot of money and frustration later.
Protecting Your Investment and Peace of Mind
Your boat trailer is a significant investment, just like your boat and vehicle. It’s the lifeline that connects your fishing passion to the water. A well-maintained trailer ensures safe transport, not just for your boat, but for everyone else on the road. Knowing that your trailer is in top shape eliminates a huge layer of worry. When you've spent weeks planning that first spring trip to Lake Sakakawea or Devils Lake, the last thing you want is a mechanical issue with your trailer sidelining your adventure.
Proper winterization extends the lifespan of your trailer components, preventing premature wear and tear. This means less money spent on replacement parts and more money for new lures, bait, or even a fancy new fish finder. It also maintains the resale value of your trailer. When it comes time to upgrade, a well-cared-for trailer, evidenced by a rust-free frame, healthy tires, and smooth-running bearings, will fetch a much better price than one that’s obviously been neglected. It’s not just about fixing problems; it’s about preventing them and keeping your whole setup running smoothly.
Step-by-Step Guide to Winterizing Your Boat Trailer
Winterizing your boat trailer might seem like a big job, but when you break it down into manageable steps, it's actually quite straightforward. You don't need a professional shop or fancy tools for most of it, just a little time, some basic supplies, and attention to detail. This isn't just a spring cleaning; it's a winter survival plan for your trailer.
Cleaning and Inspection The Foundation
Before you do anything else, give your trailer a thorough cleaning. This isn't just for aesthetics; it's crucial for removing accumulated dirt, grime, and especially road salt that can wreak havoc over the winter months. Use a pressure washer or a strong hose to blast away debris from the frame, fenders, leaf springs, and axles. Pay extra attention to nooks and crannies where salt can hide and corrode. A good automotive or marine-grade soap can help break down stubborn grease and grim. Rinse it absolutely spotless to remove all soap residue.
Once it's clean and dry, it's time for a detailed inspection. Walk around the entire trailer, top to bottom, front to back. Look for any signs of rust, especially at weld points, bolt connections, and spring hangers. Note any chipped paint or areas where the protective coating has worn away. These are prime spots for rust to start. Check all fasteners to ensure they are tight. Examine the bunks or rollers: are they still securely attached? Are the carpeted bunks worn, torn, or rotted? Are the rollers spinning freely and not cracked? Small issues found now are much easier and cheaper to address than big problems next spring. You might be surprised what you find after a season of use, so take your time and be thorough.
Wheel Bearings Your Trailer's Lifeline
The wheel bearings are arguably the most critical component to winterize properly. They endure immense stress, heat, and often water immersion, making them highly susceptible to damage if neglected. For trailers with bearing protectors (like Bearing Buddies), this step is relatively easy. Simply attach your grease gun and pump in marine-grade grease until the protector plunger extends. You'll see the old grease, often mixed with water or contaminants, being pushed out. Keep going until fresh, clean grease emerges. This fresh grease seals out moisture and protects the bearings from corrosion over the winter. If you need a new grease gun or marine-grade grease, you can usually find them easily on sites like Amazon or at a local Bass Pro Shops.
If your trailer doesn't have bearing protectors, or if they're seized, you'll need to remove the wheels and hubs to manually inspect, clean, and re-pack the bearings. This is a more involved process, but it ensures thorough protection. Clean out all the old grease, inspect the bearings and races for pitting or wear, and then carefully re-pack them with fresh, high-quality marine-grade wheel bearing grease. This is one area where cutting corners can lead to catastrophic failure, so don't skimp on quality or effort. Ensuring your bearings are properly greased and sealed means you won't be dealing with a seized wheel hub down the road, literally.
Tires and Suspension Crucial Components
Your trailer's tires are often overlooked, but they support the entire weight of your boat and trailer for months on end. First, check the tire pressure and inflate them to the maximum recommended PSI listed on the tire sidewall. This helps prevent flat spots from developing during prolonged storage. Flat spots can lead to uneven wear and bumpy rides once you're back on the road. While you're at it, inspect the tire treads for any cracks, bulges, or excessive wear. If the treads are looking thin, or the sidewalls are starting to show significant cracking, it might be time to plan for new tires next spring.
For the ultimate tire protection, consider placing the trailer on jack stands. This takes the weight off the tires completely, preventing flat spots and extending their lifespan. If jack stands aren't feasible, at least move the trailer a few feet every month or so, if possible, to rotate the stress points on the tires. Finally, apply a UV protectant spray to the tire sidewalls. Our North Dakota sun, even in winter, can contribute to rubber degradation, and a protectant helps prevent cracking. Don't forget the spare tire, either! It needs the same care and attention.
Next, turn your attention to the suspension components, usually leaf springs or a torsion axle system. For leaf springs, inspect them for rust and ensure all U-bolts and mounting hardware are tight. You can spray these components with a rust-inhibiting lubricant to help prevent corrosion over the winter. For torsion axles, check the mounting points and ensure there are no signs of stress or damage. It's often helpful to bounce on the trailer a bit to check for any squeaks or unusual sounds that might indicate issues in the suspension that need attention. A little preventative spraying now can save those springs from seizing solid with rust by the time spring rolls around.
Lights, Wiring, and Coupler Don't Forget the Details
These smaller components are often the source of frustrating electrical issues come spring. Start by inspecting all the trailer lights – brake lights, turn signals, and running lights. Check for cracked lenses, corroded bulbs, or loose connections. If you find any issues, now is the time to replace them. Disconnect the wiring harness from your tow vehicle connection and inspect the pins for corrosion. A dielectric grease applied to these pins will protect them from moisture and ensure a good connection next season. Make sure all exposed wiring is securely fastened and not rubbing against the frame or sharp edges, where insulation could wear through.
The coupler is another critical component that sees a lot of action and is exposed to the elements. Thoroughly clean the coupler mechanism, removing any dirt or old grease. Inspect it for wear, especially the latching mechanism. Apply a generous amount of marine-grade grease or white lithium grease to all moving parts of the coupler, making sure it can move freely. This prevents rust and ensures smooth operation. You might also want to lock your coupler with a trailer lock for added security, especially if storing outdoors. Covering the coupler with a plastic bag secured with a rubber band can also help protect it from the elements. Don't forget the safety chains; inspect them for rust or damage and ensure they're securely attached.
Storage Considerations for a North Dakota Winter
Where and how you store your boat trailer for the winter in North Dakota makes a huge difference in its condition come spring. The elements are relentless here, so thinking ahead about your storage solution is just as important as the physical winterization steps. Remember, the goal is to protect your investment from everything winter can throw at it.
Indoor vs. Outdoor Storage Pros and Cons
Choosing between indoor and outdoor storage largely depends on your budget, available space, and how much protection you want for your trailer.
Indoor Storage:
- Pros: This is the gold standard for protection. Your trailer is safe from snow, ice, rain, wind, and UV rays. It's also less susceptible to extreme temperature fluctuations, which can be hard on tires and other components. Rodents are generally less of an issue, though not impossible. Many marinas or storage facilities offer heated or unheated indoor storage, and these controlled environments are ideal for preventing rust and preserving overall condition.
- Cons: The biggest drawback is usually cost. Indoor storage can be significantly more expensive than outdoor options, especially for larger trailers. Availability can also be an issue, as spots fill up quickly in popular fishing areas like Bismarck or Fargo. You also might have less immediate access to your trailer during the off-season.
Outdoor Storage:
- Pros: Much more affordable, often free if you have space on your property. It offers convenient access to your trailer if you need to perform any maintenance or checks during the winter (though less pleasant in freezing temperatures!).
- Cons: This exposes your trailer to the full wrath of a North Dakota winter. Snow and ice accumulation, direct exposure to freezing rain, wind, and UV radiation will take a toll. This is where a good Best Boat Cover for North Dakota Winters becomes absolutely essential. You'll need to be diligent with your winterization steps, including applying rust inhibitors and checking tie-downs on covers. The potential for pest infestation is also much higher.
Regardless of where you store it, make sure the trailer is level to prevent uneven stress on the frame and suspension. If you're storing it outdoors, choose a spot with good drainage to avoid standing water pooling around the tires or frame.
| Component | Winterization Task | Recommended Action |
|---|---|---|
| Frame | Clean & Inspect for Rust | Thoroughly wash to remove salt and grime. Inspect for chips, scratches, and rust. Touch up paint or apply rust inhibitor. |
| Wheel Bearings | Grease or Repack | Use marine-grade grease in bearing protectors until fresh grease appears. If no protectors, remove hubs, clean, inspect, and repack manually. |
| Tires | Inflate, Inspect, Protect, Elevate | Inflate to maximum sidewall PSI. Inspect for cracks/wear. Apply UV protectant. Consider jack stands to remove weight or rotate monthly. |
| Suspension | Inspect & Lubricate | Check leaf springs, U-bolts, and torsion axle mounts for rust/damage. Apply rust-inhibiting spray to springs and pivot points. |
| Lights & Wiring | Inspect, Clean, Dielectric Grease | Check all lights for function, replace bulbs/lenses as needed. Clean electrical connections. Apply dielectric grease to harness pins. Secure loose wiring. |
| Coupler | Clean & Lubricate | Clean thoroughly. Lubricate all moving parts with marine grease or white lithium. Consider a lock and covering to protect from elements. |
| Bunks/Rollers | Inspect & Secure | Check for wear, damage, or rot on bunks. Ensure rollers spin freely and are securely attached. |
| Brakes (if applicable) | Inspect & Lubricate | Check hydraulic lines for leaks. If surge brakes, lubricate the actuator. Ensure brake pads/shoes are in good condition. |
Protecting Against Rodents and the Elements
Whether storing indoors or out, rodents can be a real nuisance. They love to chew on wiring, nest in bunk carpeting, and generally make a mess. If you're using a boat cover (which you absolutely should for outdoor storage), make sure it's snug and secure to prevent critters from easily getting underneath. You can also place rodent deterrents around and in your trailer. Dryer sheets, peppermint oil, mothballs, or commercial rodent repellents can be effective. Just be mindful of where you place them, especially if you have pets or small children.
For outdoor storage, a heavy-duty, properly fitted boat cover is non-negotiable. This cover will protect your boat and trailer from snow, ice, UV rays, and debris. Ensure it's tightly strapped down to prevent wind from tearing it or allowing snow to accumulate. If you have any exposed wooden bunks, you might consider painting them or treating them with a wood preservative to extend their life. Also, consider placing wheel chocks under the tires, even if your trailer is on level ground, for an extra layer of security. This is especially important for trailers that aren't hooked up to a vehicle, as North Dakota winds can sometimes be stronger than you'd expect. Investing in good protection now, like a durable cover you might find at Bass Pro Shops, means less work and worry when spring rolls around. For more guidance on keeping your boat registered and ready, check out articles like North Dakota Boat Registration Requirements or How to Register a New Boat in North Dakota. And to ensure your entire rig is shipshape, don't forget to review Best Way to Winterize a Boat Motor as well.
Disclaimer
This article is for general informational purposes only and does not constitute professional advice. Laws, prices and regulations vary by location and change over time. Consult a qualified professional for guidance on your specific situation.