Best Underwater Camera for Clear Ice Fishing
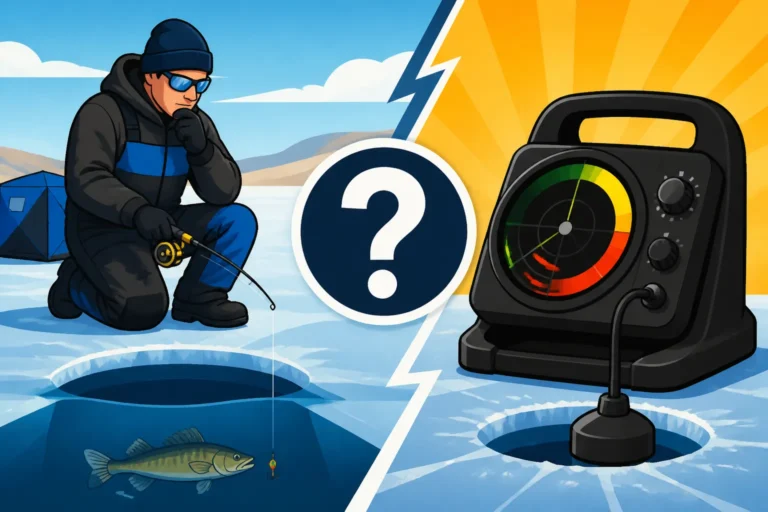
When you're out on a North Dakota lake, staring down a hole drilled through a foot or two of crystal-clear ice, sometimes all you want to know is what's really down there. Traditional flashers and fish finders give you arcs and lines, but they don't show you the structure, the weeds, or the curious walleye giving your jig the side-eye. This guide will dive deep into how an underwater camera can revolutionize your clear ice fishing experience, what features matter most for our unique North Dakota conditions, and how to pick the perfect one to give you that crucial visual edge.
Why an Underwater Camera is a Game-Changer for Clear Ice Fishing
Clear ice in North Dakota offers a unique challenge and opportunity. On one hand, you can sometimes see several feet down, which is awesome. On the other hand, fish can also see you and your lines, making them warier. An underwater camera cuts through that uncertainty, letting you see the underwater world in real-time, which is incredibly empowering. It's not just about seeing fish; it's about understanding their behavior, the nuances of the lake bottom, and how your bait is truly performing.
Seeing the Unseen: Beyond Sonar Pings
Think about it: your flasher tells you there's a fish at 15 feet. Great! But is it actively feeding? Is it hugging a rock pile? Is it a massive walleye or a curious perch? A camera reveals all these details. You can watch a walleye approach your lure, see if it's interested, how it reacts to your jigging motion, and when it decides to commit (or turn away). This visual feedback loop is invaluable for refining your technique in real-time, especially when the bite is tough. It's like having your eyes right there with your bait, which is something no sonar can replicate. This visibility is especially useful in the clear waters often found in many of our lakes, letting you maximize your time on the ice.
Learning Fish Behavior and Habitat
Beyond just catching fish, an underwater camera is an incredible learning tool. You'll start to recognize preferred habitats, subtle changes in bottom composition that attract fish, and how different species react to various presentations. For example, you might discover that the big northern pike are lurking in sparse weeds while the yellow perch are schooling tightly over a rockier bottom. This kind of firsthand observation can profoundly deepen your understanding of fish ecology and make you a more adaptable angler. Watching how fish behave around cover, their reaction to light, and their interactions with other species can give you insights you'd never get from an abstract sonar screen. Many anglers find their most valuable insights come from observing fish in their natural environment, rather than just marking them on a How to Read a Fish Finder for Ice Fishing.
Key Features to Look for in an Underwater Camera
When you're sifting through all the options, from basic models to advanced systems, it's easy to get overwhelmed. For North Dakota's clear ice conditions, certain features rise to the top in terms of importance. You're not just buying a camera; you're investing in a window to the underwater world, so let's make sure it's a good one.
Camera Resolution and Image Quality
First and foremost, you want a clear picture. High resolution on your camera, often measured in TV lines (TVL) or megapixels for more modern digital systems, will give you sharper images. Look for cameras with at least 700 TVL, but higher is always better for picking out subtle details like fins, scale patterns, and even bait movement from a distance. A good sensor will also handle low-light conditions better, which is crucial since sunlight diminishes rapidly underwater, especially under thick ice. Some models even boast 1080p full HD, offering truly stunning clarity that can make a huge difference in identifying species and assessing their mood. When you're trying to distinguish between a perch and a small walleye, that clarity is everything.
Screen Size and Visibility
What's the point of a great camera if you can't see the screen clearly? For ice fishing, screen size matters. You'll often be huddled over your hole, sometimes in bright sunlight reflecting off the snow, other times in the dim light of an ice house. A larger screen (5-7 inches is a common sweet spot, but some go larger) makes it easier to track your lure and fish without straining your eyes. Equally important is screen brightness and anti-glare capabilities. Some units come with built-in visors or offer exceptional outdoor readability, which can be a lifesaver on a sunny winter day. You want to be able to see the screen clearly, even when wearing gloves or trying to keep warm inside a portable Best Ice Fishing Shelters for North Dakota.
Cable Length and Durability
North Dakota lakes can be surprisingly deep, and fish often suspend at various depths. A generous cable length, ideally 50 to 100 feet, gives you the versatility to explore different depths without having to constantly move your entire setup. Beyond length, durability is paramount. The cable will be dragged over ice, submerged in freezing water, and possibly endure some tugs and pulls. Look for robust, tangle-resistant cables designed for cold weather use. Nobody wants a broken connection when the fish are biting!
Battery Life and Cold Weather Performance
This is North Dakota; cold weather isn't just a possibility, it's a guarantee. Batteries drain faster in the cold, so a long-lasting power source is non-negotiable. Look for cameras with high-capacity lithium-ion batteries that are rated for extended use in freezing temperatures. Many units offer 6-8 hours of continuous operation, but some can go longer. Having a backup power source or knowing your camera's true battery performance in sub-zero conditions is crucial. You don't want your camera dying just as a monster walleye cruises into view. Consider pairing it with a Best Portable Power Station for Ice Fishing Electronics for those epic all-day sessions.
Infrared (IR) or White LED Lighting
In darker conditions, or when fishing deeper water, integrated lighting becomes essential. Most underwater cameras come with either infrared (IR) or white LED lights.
- IR Lights: These are stealthy. Fish can't see infrared light, so it won't spook them. However, the image will be black and white, and clarity can be reduced. For truly clear water where fish are easily spooked, IR can be a good choice.
- White LEDs: These provide full-color illumination, giving you a much more vibrant and detailed picture. The trade-off is that fish can see white light, and it might occasionally spook them, especially in very shallow or gin-clear water. However, for most clear ice fishing situations in North Dakota, the benefits of color and clarity often outweigh the risk of spooking fish, particularly if you're fishing a bit deeper or in slightly stained water. Many anglers prefer white LEDs for their ability to show natural colors of fish and habitat.
Top Considerations for North Dakota's Clear Ice Conditions
Fishing on North Dakota's frozen lakes like Devils Lake or Lake Sakakawea often means encountering incredible water clarity. This transparency brings a whole new set of considerations for your underwater camera setup, allowing you to maximize its potential and ensure it actually helps, rather than hinders, your fishing success.
Managing Light and Spooking Fish
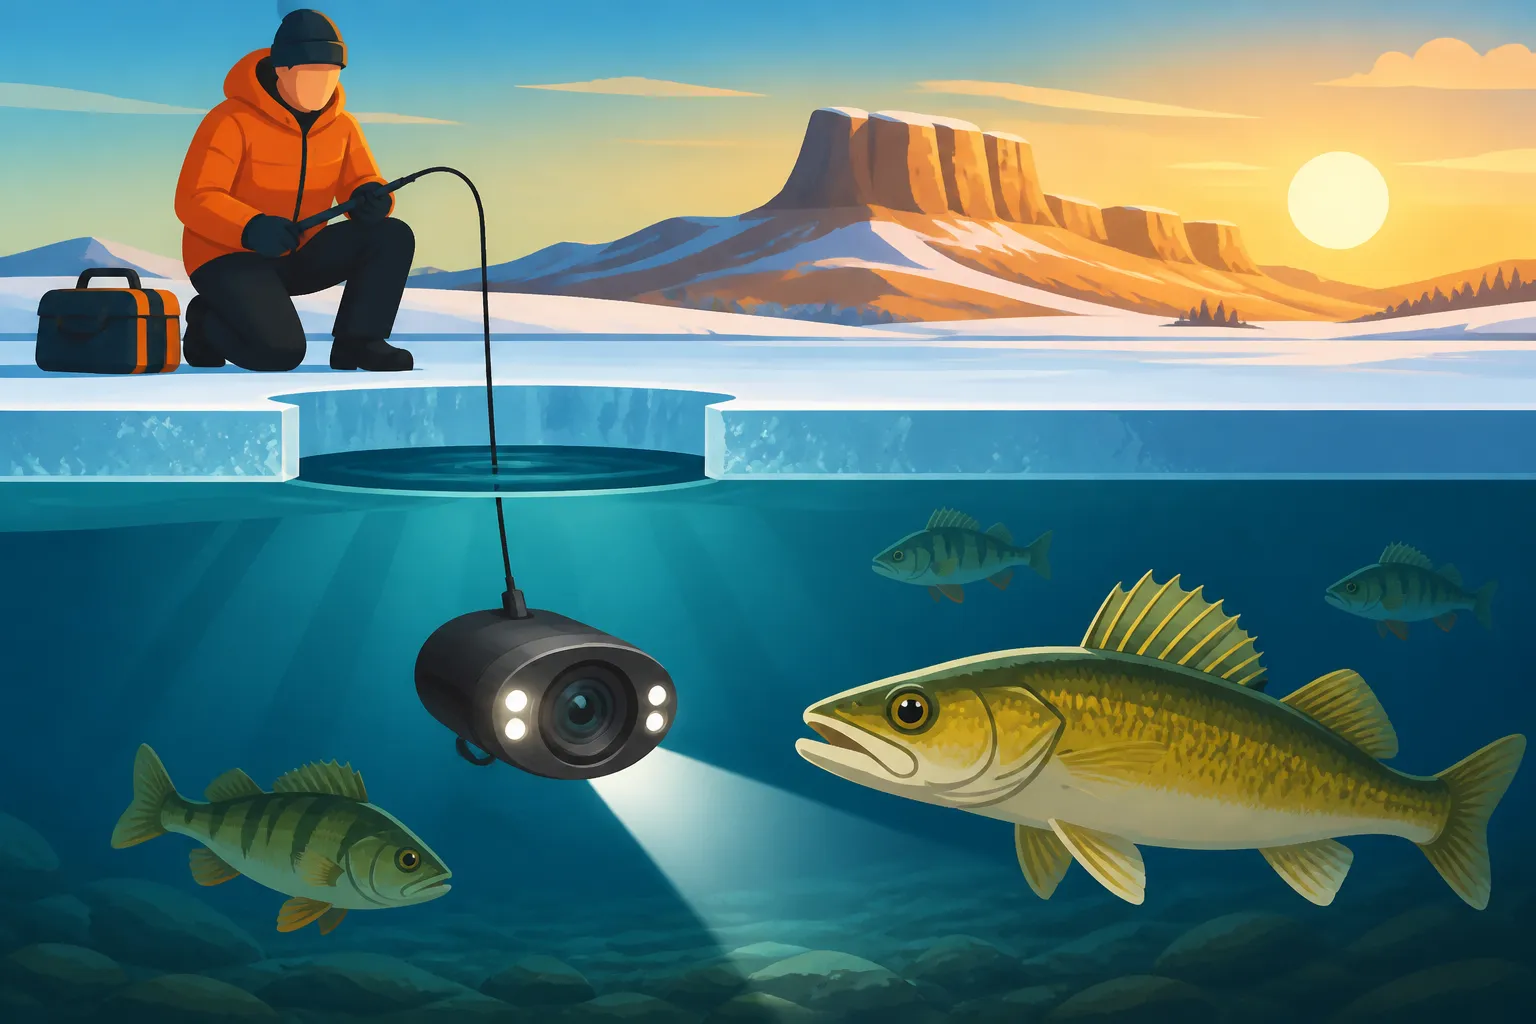
With exceptionally clear ice, sunlight penetrates deep into the water, and fish can be incredibly wary. An underwater camera gives you the advantage of seeing fish, but it also means fish can potentially see your camera or its lights. In these conditions, you might want to initially deploy your camera without the lights on, relying on ambient light. If it's too dark, experiment with turning on only a few IR lights if available, or just one or two white LEDs. Observe how fish react. Sometimes, a well-placed camera can even act as a curiosity object, drawing fish in! Position your camera a few feet away from your lure hole, and perhaps a foot or two deeper than your bait, pointed slightly upward, to get the best viewing angle without directly interfering with your presentation. This allows you to monitor a wider area and see fish approaching your Best Jig Size for Perch Through the Ice from a distance.
Camera Positioning and Viewing Angles
The key to getting the most out of your camera in clear water is strategic positioning. Using a good camera panner system can be a huge asset. This allows you to rotate the camera 360 degrees remotely, exploring structure, weed lines, and scanning for cruising fish without constantly pulling the camera up and re-positioning it. When you drop the camera, let it settle. Then, slowly pan around, paying attention to depth contours, transitions in bottom composition, and any available cover. In clear conditions, you can often see further, so a wider field of view is beneficial. Some cameras come with fins or weights that help orient them correctly in the water, preventing them from spinning aimlessly. Bass Pro Shops often carries a variety of camera positioning accessories, from simple cable weights to advanced panners.
Pairing With Your Fish Finder
An underwater camera isn't a replacement for your fish finder; it's a powerful complement. Your flasher or sonar will quickly tell you depth, mark fish, and identify structure. Once you have a target or an interesting area, deploy your camera to get a visual confirmation. Use your fish finder to quickly locate schools of North Dakota Yellow Perch Fishing Guide or individual walleye, and then drop your camera to understand why they're there and how they're behaving. This combined approach gives you both the broad overview and the intimate detail needed for truly effective ice fishing. Together, they create an unbeatable combination for understanding the underwater world, especially when you're trying to How to Find Perch Schools Under the Ice.
| Feature | Benefit for Clear Ice Fishing | Consideration for ND Conditions |
|---|---|---|
| High Resolution Camera | Sharp, detailed images of fish/habitat | Essential for distinguishing species and observing subtle behaviors in clear water. |
| Large, Bright Screen | Easy viewing, less eye strain | Crucial for visibility in bright sun reflecting off snow or low light in ice shelters. |
| Long, Durable Cable | Versatile depth exploration | Accommodates varying depths in large North Dakota lakes like Sakakawea. Cold-rated cable is a must. |
| Extended Battery Life | All-day operation in cold | Batteries drain faster in ND's extreme cold; plan for 6+ hours, or bring backup power. |
| Infrared (IR) or White LED | Illumination in low light | IR for stealthy, black & white views; White LED for color. Test fish reaction to white light in clear water. |
| Panning System | 360-degree remote camera rotation | Maximizes scanning range without pulling the camera, crucial for covering more area. |
Setting Up and Using Your Underwater Camera Effectively
So you've got your shiny new underwater camera, ready to unveil the secrets beneath the ice. But like any good piece of gear, knowing how to set it up and use it effectively can make all the difference. It's not just about dropping it down the hole; it's about making it work for you.
Initial Setup and Deployment
Before you even hit the ice, charge your battery fully. Get familiar with the controls. When you're on the ice, drill a hole for your fishing line and another, separate hole about 3-5 feet away for your camera. This keeps your camera cable from tangling with your fishing line and gives you a better, wider viewing angle. Slowly lower the camera into the water, letting the cable unspool gradually. If your camera has a directional fin or weight, ensure it's oriented to look towards your fishing hole. Once it's at your desired depth, connect it to the monitor and power it up. Adjust the camera's angle and orientation using any panning system or by carefully rotating the cable until you have a clear view of your lure and the surrounding area. Remember to account for current, which can sometimes push your camera or lure off-screen.
Optimizing Your View
The biggest challenge with any underwater camera is getting the best view. Here are a few tips:
- Depth Adjustment: Start by lowering the camera a foot or two deeper than your lure. This allows you to look up at your bait and see fish approaching from below or to the sides.
- Angle of View: Experiment with pointing the camera slightly up, down, or straight ahead. A slight upward angle often works well for watching your jig and fish reactions.
- Light Management: In extremely clear, sunny conditions, you might not need the camera's lights at all. If it's darker or deeper, start with IR lights if you have them. If you need color, turn on the white LEDs, but watch how fish react. If they shy away, try turning them off or using fewer lights.
- Panning: If you have a panning system, use it! Slowly sweep the area around your fishing hole. Look for structure, changes in bottom composition, and, of course, fish. A good Amazon search for "ice fishing camera panner" will show you many options.
- Clean the Lens: Before and after each use, wipe the camera lens with a soft, clean cloth. Water spots or ice crystals on the lens can severely degrade image quality.
Interpreting What You See
The real power of an underwater camera comes from how you interpret the visual information.
- Fish Behavior: Are they actively swimming, or holding tight to structure? Are they ignoring your bait, or are they following it, just not committing? This tells you whether to change your presentation, lure color, or even the type of bait you're using. If you see them nipping at the edges of your soft plastic, but not fully taking it, maybe a smaller bait or a different profile is in order.
- Lure Presentation: Are you jigging too aggressively or too subtly? Is your bait fouled with weeds? Is your minnow still lively? Seeing your lure in action helps you refine your jigging strokes for maximum appeal. This visual feedback is far more precise than just feeling vibrations on your rod.
- Structure and Cover: Confirm what your fish finder is telling you about the bottom. Are those actually weeds, or a pile of brush? How dense is the cover? This helps you avoid snags and target productive areas more effectively. You might realize that what looked like a solid blob on sonar is actually a loose cluster of timber that fish are using for cover.
Maintenance and Care for Longevity
Your underwater camera is an investment, especially one designed to withstand the harsh conditions of North Dakota ice fishing. Proper care and maintenance will ensure it lasts for many seasons, continuing to give you that crucial edge in clear water. Neglecting it could lead to frustrating malfunctions or a shortened lifespan.
Cleaning and Storage After Each Trip
Once you're done fishing, the first step is always thorough cleaning. Remove the camera from the water and gently wipe down the lens and cable with a soft cloth. Pay close attention to the lens to remove any water spots, dirt, or algae that might have accumulated. Rinse the camera and cable with fresh, clean water (not hot!) to remove any lake water residue, especially if you're fishing in slightly brackish or mineral-rich waters. Allow the camera and cable to air dry completely before coiling the cable neatly and storing the unit. Never store the camera wet, as this can lead to corrosion or mildew, especially on sensitive electronic components. Store it in a protective carrying case, away from extreme temperatures and direct sunlight.
Battery Care and Cold Weather Protection
Batteries are particularly vulnerable in cold climates. Always store your battery fully charged in a cool, dry place – not in extreme heat or freezing cold. If your camera uses a removable battery, consider taking it inside at night during multi-day trips to keep it warm. When you're out on the ice, keep the monitor and battery inside your Best Cold Weather Gear for Ice Fishing pockets or inside an insulated bag when not in active use. This prevents rapid temperature drops that can drastically reduce battery life and overall performance. Avoid completely draining the battery, as this can shorten its overall lifespan. Regular charging cycles, even during the off-season, are important for maintaining battery health.
Inspecting Cables and Connections
Before and after every fishing trip, take a few minutes to visually inspect the camera's cable for any signs of wear, cuts, or kinks. The cable is often the most vulnerable part of an underwater camera system. Check the connections between the cable, camera, and monitor for any corrosion or damage. If you spot any minor nicks, you might be able to repair them with waterproof electrical tape, but severe damage usually means replacing the cable or the entire unit. Regular inspection helps you catch small issues before they become big, trip-ending problems. Treat your camera's cable with the same care you would your fishing line—it's your connection to the underwater world.
Disclaimer
This article is for general informational purposes only and does not constitute professional advice. Laws, prices and regulations vary by location and change over time. Consult a qualified professional for guidance on your specific situation.