How to Check Ice Thickness Safely
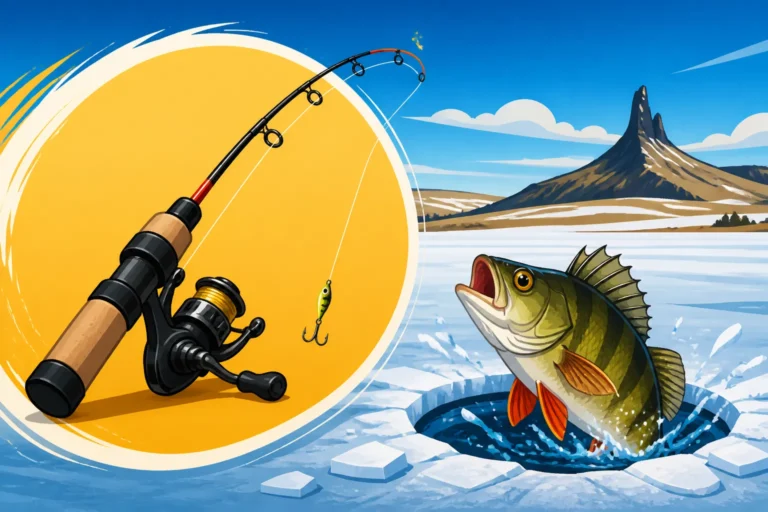
The allure of ice fishing in North Dakota is undeniable – the vast frozen landscapes, the crisp winter air, and the thrill of pulling a hefty walleye or perch through a hole. But let's be real, beneath that beautiful, inviting sheet of ice lies a very real, very dangerous possibility: thin ice. Assuming a lake is safe just because it's frozen solid or you see a few brave souls out there is a gamble no one should ever take. This guide will walk you through the absolutely critical, non-negotiable steps to safely check ice thickness, ensuring your frosty adventures are memorable for all the right reasons.
The Imperative of Ice Safety: Why You Can't Guess
It’s easy to get swept up in the excitement of the season, especially when you’ve been itching to get out on the ice. But that enthusiasm has to be tempered with a healthy dose of respect for Mother Nature, especially when it comes to frozen water. Many an experienced angler has been caught off guard by rapidly changing ice conditions, and it’s a lesson best learned through preparedness, not peril.
Understanding Ice Dynamics: It's Not Always Uniform
One of the biggest misconceptions about ice is that it forms uniformly across an entire lake. Nothing could be further from the truth, especially here in North Dakota where conditions can vary wildly. You might have ten inches of solid, clear ice in one spot, and literally twenty feet away, it could be barely two inches, or even open water. This variability is due to a myriad of factors. Submerged springs, for example, can create pockets of warmer water that never freeze as thickly as the surrounding areas. Currents, like those found in the Missouri River system or near inlets and outlets of major lakes like Lake Sakakawea, constantly erode ice from below. Even something as simple as a fallen tree or large rock on the bottom can create localized thin spots due to heat retention or disrupting water flow. Furthermore, heavy snowfalls can insulate the ice, slowing its growth or even causing it to melt slightly from above, leading to slush layers that refreeze into weaker, milky ice. This type of ice, often called "snow ice," has far less structural integrity than clear, black ice.
The Hidden Dangers: What Looks Safe Can Be Perilous
The visual assessment of ice can be incredibly deceiving. A fresh layer of snow can blanket thin ice, making it appear solid and continuous. You might see tracks from a snowmobile or ATV from a previous day, tempting you to follow, but conditions can change overnight. A sudden warm spell, an influx of warmer water, or even high winds can significantly weaken ice in a short period. The danger isn't just falling through yourself; it's also losing valuable gear, your snowmobile, or even your truck. The sheer weight of personal gear, an ice shelter, auger, and a day's catch can be enough to push marginal ice past its breaking point. Imagine the frustration of having your beloved portable ice shelter, which you might have sourced from Amazon, disappear into the depths alongside your auger and tackle box. The emotional and financial cost far outweighs the few extra minutes it takes to properly assess the ice. Always prioritize safety over convenience or the fear of missing out on a bite.
Essential Gear for Confident Ice Probing
You wouldn't head out on open water without a life jacket, right? The same principle applies to ice fishing. Proper equipment isn't just about catching fish; it's about getting home safely. Investing in the right tools for checking ice thickness is an investment in your well-being. Don’t rely on a random stick or a quick stomp of your boot.
Manual Tools: Spud Bars, Chisels, and Hand Augers
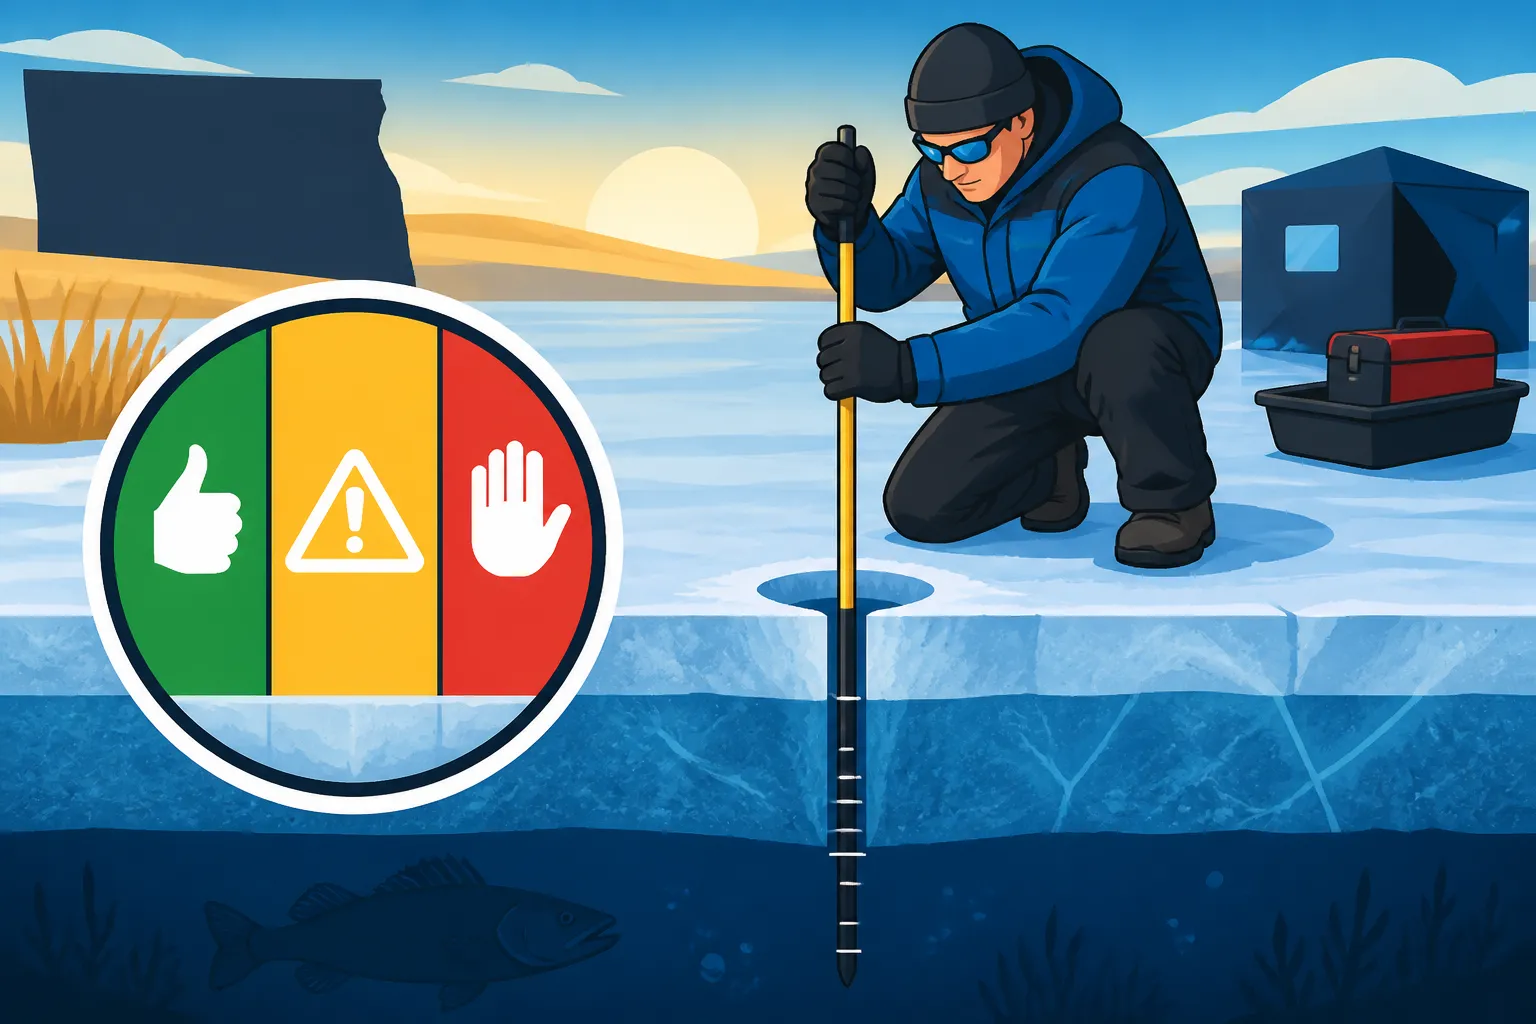
For early ice, or when you’re venturing onto unfamiliar territory, a spud bar is your best friend. This heavy, metal chisel with a T-handle allows you to aggressively punch test holes ahead of you as you walk. It’s loud, it's physical, but it gives you immediate, tangible feedback on ice integrity. A few solid strikes will tell you if the ice is firm or soft. If it punches through easily, you know to retreat. Always walk slowly, tap, tap, tapping with your spud bar every few steps. For general reconnaissance, a sturdy ice chisel can also serve a similar purpose, though it might be a bit lighter.
Once the ice has started to thicken, a hand auger becomes an invaluable tool. It’s slower than a power auger, but the controlled drilling allows you to feel the resistance of the ice as you go down, giving you a good sense of its density and layers. Plus, you get an accurate measurement of the thickness of the core you pull out. Many anglers, myself included, will drill a series of holes leading out from shore to establish a safe path. You can find reliable hand augers and chisels, often with varying blade sizes, on Amazon to suit different ice conditions.
Power Augers and the Role of Electronics
When the ice is consistently thick and you’re confident in the general area, a power auger is a fantastic tool for making quick work of fishing holes. While its primary purpose isn't checking thickness, you can certainly gauge the ice as you drill. Pay attention to how easily it cuts and the appearance of the ice chips it brings up. Clear, hard chips indicate strong ice; slushy, soft chips suggest caution. Always measure the core you pull out of your first few holes to confirm thickness. For more on these tools, you might find our guide on Ice Fishing Auger Techniques helpful.
Regarding electronics, while a fish finder or sonar unit won't directly tell you the thickness of the ice you're standing on, they play a crucial role in overall safety. High-end units can provide valuable information about water depth and bottom structure. Knowing the depth can give you clues about potential current areas or abrupt drop-offs where ice might be thinner. They can also reveal underwater springs or other anomalies that affect ice formation. Some advanced units may even show you density changes in the ice from below, which is a subtle but helpful indicator. For a deeper dive into this, check out our piece on Best Fish Finders for Ice Fishing.
Your Personal Safety Net: What to Carry While Checking
Before you even step foot on the ice to begin probing, make sure you are equipped for personal safety.
- Ice Picks: These are small, sharp tools worn around your neck. If you break through, you can use them to pull yourself back onto solid ice. They are inexpensive and can be purchased for a few dollars, often in multi-packs, making them accessible via platforms like Amazon.
- Throw Rope: A coiled rope with a float on one end is essential. If someone else breaks through, you can toss them the rope while staying at a safe distance.
- Flotation Suit or Life Jacket: Wearing a full flotation suit offers insulation and buoyancy, significantly increasing your survival time and chances of self-rescue if you take an unexpected dip. At the very least, wear a life jacket, especially during early or late ice conditions.
- Buddy System: Never, ever go out on uncertain ice alone. Having a partner greatly enhances safety, as they can assist in a rescue or call for help.
These items are not optional; they are your insurance policy against a worst-case scenario.
A Step-by-Step Approach to Validating Ice Thickness
Knowing what tools to use is one thing; understanding how to use them effectively is another. There’s a methodical, almost ritualistic approach to ice checking that seasoned North Dakota anglers swear by. It’s about building confidence with every step and every probe.
The First Steps: From Shoreline to the Unknown
Your ice safety journey begins the moment you step out of your vehicle, well before you even reach the water's edge.
- Observe from Afar: Before getting close, take a moment to look at the ice. Are there visible cracks, pressure ridges (where ice sheets buckle), or areas of open water? Does the ice color vary significantly? Clear, dark ice ("black ice") is generally the strongest, while milky or snow-covered ice tends to be weaker.
- Test the Transition Zone: The ice closest to shore can be surprisingly tricky. It might be thinner due to wave action, or it could be weaker from melting and refreezing. Use your spud bar aggressively here. Don't be shy; hit the ice hard. You're looking for resistance. If it punches through easily, reconsider your access point.
- Create an Initial Path: Once you’ve established a safe entry point, use your spud bar or hand auger to create a series of test holes, roughly 10-15 feet apart, in the direction you intend to travel. This creates a visual path of safety and ensures you're continually checking conditions. When pulling up an ice core from these holes, measure it carefully. Remember, ice can vary dramatically, and the first measurement is just that – a first measurement.
Moving Forward: Puncturing a Path to Safety
Once you're beyond the immediate shoreline, the principle remains the same: constant vigilance. Think of it like walking across a minefield, but instead of mines, you're looking for weakness.
- The "Poker Chip" Approach: This means tapping or drilling a hole every few steps, perhaps every 10-15 feet, as you move across the ice. The sound and feel of the spud bar hitting the ice will become your guide. A solid thud means strong ice; a hollow sound or easy penetration means danger.
- Never Follow Blindly: Just because a snowmobile track or foot trail is ahead of you doesn't mean it's safe now. Conditions change. Always re-verify. This is particularly true if you notice new snow cover, which could be masking dangerous areas.
- Mark Your Path: Especially on early ice, consider using small flags or reflective markers to delineate your safe path. This is helpful for your return trip, and for anyone else who might be approaching the area. This is also important if you plan to leave an ice shelter out overnight. You need a clear path to reach it safely, even in low light. For information on regulations related to leaving shelters, see our guide on Ice Fishing Shelter Rules on North Dakota Lakes.
Reading the Ice: Visual Cues and Audible Warnings
Your senses are your best tools once you're on the ice. Learn to interpret what the ice is telling you.
- Color Matters:
- Clear, Black Ice: This is the strongest type of ice, formed by direct freezing of water. It's dense and strong.
- White or Milky Ice (Snow Ice): This forms from refrozen snow and slush. It contains more air pockets and is generally about half as strong as clear ice. Exercise extreme caution.
- Gray or Mottled Ice: This indicates deteriorating ice, often due to thawing or the presence of water within the ice structure. Avoid at all costs.
- Sounds are Clues:
- Booming or Groaning: This sound often indicates that the ice is expanding or contracting, usually a sign of strong, stable ice. It can be unnerving but is generally a good sign.
- Cracking or "Zipping" Sounds: While small cracks are normal, loud, prolonged cracking, especially when accompanied by slushy water welling up, is a serious warning sign. Turn back immediately.
- Surface Conditions:
- Slush: Pockets of slush on top of the ice can be deceptive. They might indicate water infiltrating from above or a weak spot below where water is pushing up. Test thoroughly around slushy areas.
- Pressure Ridges: These are lines where ice sheets have collided and buckled. They are notoriously unstable and should be avoided or crossed with extreme caution after thorough testing.
- Open Water: Any sight of open water, no matter how small, means immediate retreat.
North Dakota's Ice Thickness Guidelines: Knowing the Numbers
While constant vigilance and methodical checking are paramount, having general guidelines for minimum safe ice thickness is crucial. These are not hard and fast rules; they are minimum recommendations under ideal conditions. Always err on the side of caution.
Standard Recommendations for Various Activities
Here’s a general table outlining common recommendations for clear, solid ice. Remember that "snow ice" or refrozen slush ice requires roughly double the thickness for the same load.
| Activity | Minimum Clear Ice Thickness Recommendation | Notes |
|---|---|---|
| Foot Travel (Ice Fishing) | 4 inches | This is the absolute minimum for a single person walking. Always test as you go. |
| Snowmobile or ATV | 5-7 inches | Requires good, clear ice. Be mindful of weight distribution, especially with passengers or gear. Never travel in a tight group. |
| Small Car or Light Truck | 8-12 inches | Extremely risky. Requires exceptional ice conditions, often much thicker. Never drive on ice that hasn't been thoroughly vetted or if you're not absolutely certain of its strength. Consider our guide: Is It Safe to Drive a Truck on North Dakota Ice?. |
| Medium Truck or Van | 12-15 inches | Very rare to find ice this consistently thick and safe. Only with established, marked ice roads. |
These are minimums. Many experienced anglers won't even venture out on foot until they have a solid 6 inches of clear ice. When in doubt, don't go out. There’s always another day to fish, but you only have one life.
Navigating North Dakota's Unique Ice Challenges
North Dakota's expansive waterways present unique challenges to ice safety. Understanding these local factors can significantly improve your safety preparedness.
- River Systems: The Missouri River, with its strong currents and fluctuating water levels (especially below dams like Garrison Dam), rarely freezes uniformly or reliably. Ice on rivers is almost always less predictable than on lakes. Always be extra cautious on river systems, and focus on backwaters and protected bays rather than the main channel. For more on navigating these waters, consider reading Missouri River Fishing Guide.
- Large Reservoirs: Lakes like Sakakawea and Oahe are massive and exposed to significant wind action. This can create treacherous pressure ridges and areas where ice is constantly shifting, cracking, and refreezing, making for highly variable conditions. Pay attention to wind direction and recent weather patterns.
- Snow Cover: North Dakota winters often bring substantial snowfall. While beautiful, snow can act as an insulator, preventing ice from thickening. It can also hide dangerous cracks or open water. Heavy snow can also weigh down the ice, pushing water up through cracks and creating slush layers that refreeze into weaker white ice. For tips on gearing up for cold conditions, check out What to Wear Ice Fishing in North Dakota.
- Early and Late Ice: These are arguably the most dangerous times to be on the ice. Early ice is exciting, but often inconsistent. Late ice can look solid but is rapidly deteriorating from below as water temperatures rise and sunlight penetrates. For a comprehensive overview, refer to our guides on Early Ice Fishing Safety Tips and Late Ice Fishing Safety Tips. Always stay up-to-date with local conditions and reports from the North Dakota Game and Fish Department, who often issue advisories.
By understanding these guidelines and the dynamic nature of North Dakota's ice, you'll be well on your way to enjoying a safe and productive ice fishing season. Your most important piece of gear is always caution and common sense.
Disclaimer
This article is for general informational purposes only and does not constitute professional advice. Laws, prices and regulations vary by location and change over time. Consult a qualified professional for guidance on your specific situation.