How to Fish a Jig and Minnow Combo
There are few things more frustrating in fishing than knowing the fish are there but not being able to coax a bite. Sometimes, all the fancy lures and high-tech gadgets in the world can't hold a candle to a time-tested classic. For countless anglers across North Dakota, that classic is the simple, yet incredibly effective, jig and minnow combo. If you've ever wondered how to truly master this technique to put more fish in your boat or on the ice, you're in the right place. This guide will break down everything you need to know about fishing a jig and minnow combo effectively, from selecting your gear to mastering the retrieve, ensuring you're ready for whatever North Dakota's diverse waters throw at you.
Why the Jig and Minnow Combo Remains a North Dakota Favorite
It's easy to get caught up in the latest fishing trends, with new baits and techniques constantly emerging. But some methods stand the test of time for a reason, and the jig and minnow combo is absolutely one of them. In North Dakota, where we chase everything from walleye and perch to pike and crappie, this setup consistently produces results, proving its worth year after year, season after season.
The Unbeatable Appeal of Natural Bait
Think about it: fish are opportunistic predators. They're programmed to react to things that look, smell, or feel like food. A live minnow, struggling on a hook, ticks all those boxes with an authenticity that artificial baits often struggle to replicate. The subtle flick of its tail, the natural scent it emits, and its realistic profile are often irresistible, especially when fish are finicky or less active. There's a biological trigger that real bait provides, a primal urge that makes a game fish commit to the strike.
This isn't to say artificials don't work – they absolutely do, and many anglers swear by them. But when conditions are tough, or you're trying to coax a bite from a wary walleye in clear water on Lake Sakakawea, that live minnow can be the difference-maker. It has a natural action that's impossible to perfectly imitate with plastic or metal. The fish don't have to "think" about it; it's simply food. This inherent appeal is why generations of North Dakota anglers have relied on live bait, and why it's still a staple in tackle boxes from the Red River to Lake Oahe.
Versatility for Various Species and Conditions
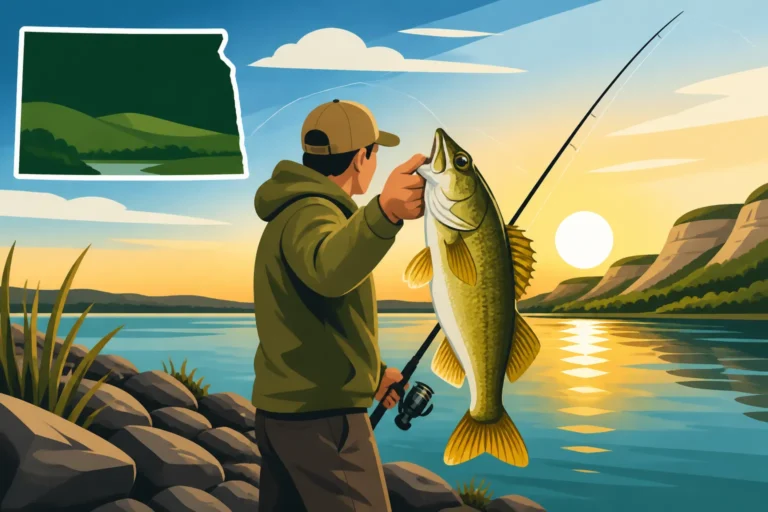
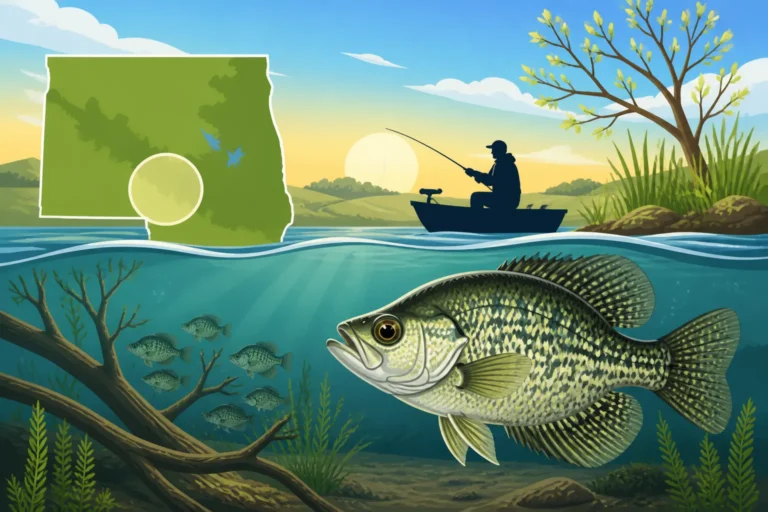
One of the most powerful attributes of the jig and minnow combo is its incredible versatility. It's not just a walleye rig, though it's certainly a top performer for them. This setup can be deadly for yellow perch, especially when ice fishing on Devils Lake, where a tiny jig tipped with a lively minnow can entice even the most cautious panfish. Northern pike, known for their aggressive strikes, will also readily attack a larger minnow on a heavier jig, particularly in areas with good cover. Even crappie and bass will fall victim to a well-presented jig and minnow.
Beyond species, the combo adapts to a wide range of fishing conditions. In clear water, the natural appearance of the minnow shines. In stained or turbid water, its scent trail becomes a critical attractant. You can fish it fast, slowly, vertically, or cast it out and retrieve it with a gentle hop. Whether you're working deep structure, shallow weed lines, or current seams, the jig and minnow can be adjusted to present naturally and effectively. This adaptability means you don't need a boatload of specialized gear; with a few different jig weights and some lively minnows, you're prepared for most scenarios you'll encounter on North Dakota's diverse fisheries.
Essential Gear for Your Jig and Minnow Setup
While the jig and minnow combo is lauded for its simplicity, having the right components can significantly enhance your success. You don't need to break the bank, but understanding the nuances of each piece of gear will help you present your bait more effectively and feel those often-subtle North Dakota bites.
Choosing the Right Jig Head
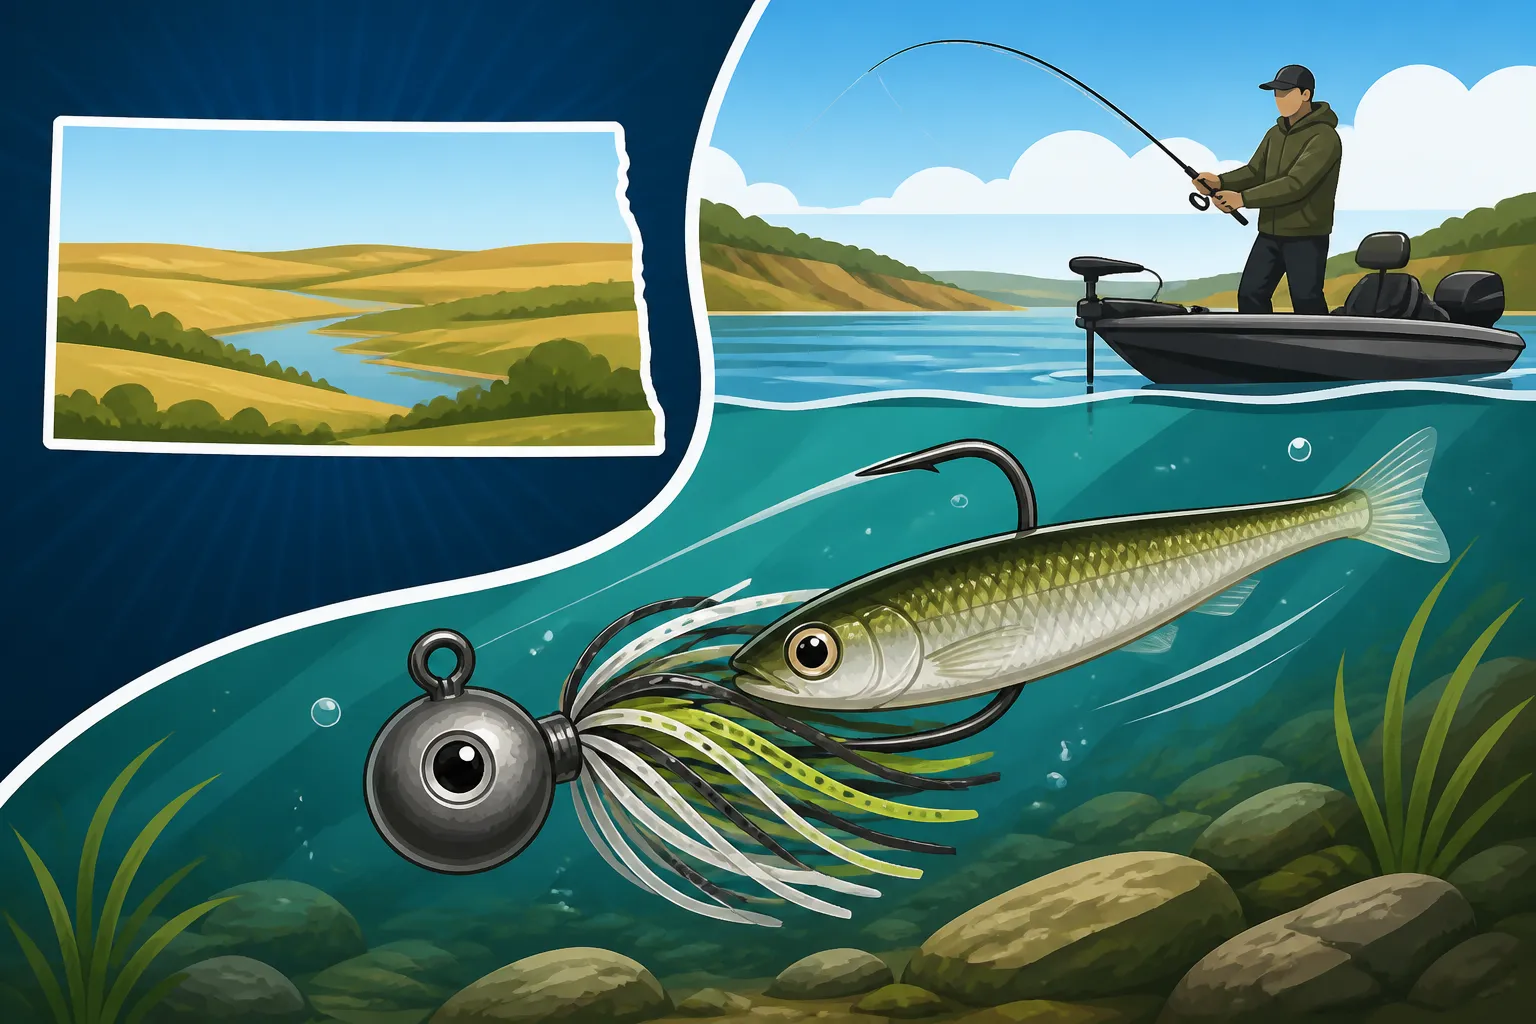
The jig head is the foundation of this combo, dictating how your minnow presents and falls in the water. The weight is perhaps the most critical factor, as it needs to match the depth and current you're fishing. For most North Dakota applications, especially walleye, you'll find yourself reaching for jigs ranging from 1/8 ounce to 1/2 ounce. A 1/8 oz jig is perfect for shallower water (under 10 feet), minimal current, or when fish are super finicky. Step up to 1/4 oz for moderate depths (10-20 feet) or light current, which is often a sweet spot for many lakes. For deeper water or strong currents, like those found below Garrison Dam on the Missouri River, a 3/8 oz or even 1/2 oz jig will help you maintain bottom contact and feel the bite.
Color can also play a role, though sometimes a natural presentation is all you need. Popular colors include chartreuse, white, pink, and orange, especially in stained water or during low light conditions. In clearer water, black, brown, or natural baitfish colors can be more effective. The hook size on the jig is also important; generally, a #1 or 1/0 hook is a good all-around choice for minnows used in walleye and perch fishing. There are various styles too:
- Ball Head: The most common and versatile, good for general jigging.
- Stand-up Head: Designed to keep the hook pointed upwards when resting on the bottom, great for bottom-feeding fish.
- Mushroom Head: Often used for finesse presentations or when a softer fall is desired.
For a great selection of reliable options, you can often find a wide array of jig heads on Amazon, which makes stocking up easy. Exploring different jig weights, colors, and styles is part of the fun, and you'll quickly develop favorites based on your local waters and target species. For more specific recommendations, check out our guide on Best Jigs for North Dakota Walleye.
Selecting and Storing Your Minnows
The minnow itself is the star of the show, so its vitality is paramount. The type of minnow you use can sometimes make a difference.
- Fatheads: These are the most common and readily available minnows, great for panfish and smaller walleye. They're hardy and stay lively.
- Shiners (e.g., Golden Shiners, Emerald Shiners): Often larger and more active, shiners are excellent for walleye, pike, and bass.
- Rainbow or Spottail Shiners: Prized by walleye anglers for their flash and liveliness, though sometimes harder to find.
No matter the type, always choose lively, healthy minnows. A sickly or sluggish minnow won't entice a bite nearly as well. Keeping them alive is crucial, especially on a hot summer day or during a long ice fishing trip. An aerated minnow bucket is a must-have. These buckets use a small battery-powered air pump to oxygenate the water, keeping your bait lively for hours. Add ice to the water in summer to keep it cool, as minnows thrive in cooler temperatures. In winter, avoid letting them freeze. Investing in a good quality insulated live bait cooler can make a huge difference in minnow longevity. For more tips on keeping your bait fresh, you can read our article on Best Live Bait Cooler for Summer Fishing. When heading out for walleye, you'll find even more details on Best Live Bait for North Dakota Walleye.
Rod, Reel, and Line Recommendations
A balanced rod and reel setup makes all the difference in feeling subtle bites and effectively fighting fish. For jig and minnow fishing, especially for walleye and perch, a light to medium-light action spinning rod is generally preferred.
- Rod Length: A 6-foot to 7-foot rod is versatile. Shorter rods (6' to 6'6") offer more sensitivity and control for vertical jigging or working tight spots. Longer rods (6'6" to 7') provide better casting distance when pitching and can help absorb runs from larger fish.
- Rod Power: A "light" or "medium-light" power is ideal, offering enough backbone to set the hook and fight fish, but sensitive enough to detect those faint taps.
- Reel Size: A matching spinning reel in the 1000 to 2500 size range is perfect. These reels are lightweight, balance well with the rods, and have smooth drags.
When it comes to line, you have a few good options:
- Monofilament (Mono): Affordable, good knot strength, and has stretch, which can be forgiving. However, the stretch also means less sensitivity, making it harder to feel light bites. 6-8 lb test is common.
- Fluorocarbon (Fluoro): Less stretch than mono, nearly invisible underwater, and very abrasion resistant. It's more sensitive than mono but can be stiffer. You can run 6-8 lb fluoro as a main line or use it as a leader with braided line.
- Braided Line (Braid): Extremely sensitive with virtually no stretch, allowing you to feel every bump and tap. It's also very strong for its diameter. The downside is its visibility and lack of abrasion resistance in rocky areas. Many anglers use 8-15 lb braided main line paired with a 6-10 lb fluorocarbon leader for the best of both worlds.
Many anglers find excellent rod and reel combos and line options on Amazon, allowing them to compare features and read reviews before purchasing. For those just starting out, our guide on Best Rod and Reel Combo for Beginners in North Dakota offers great insights, as does our advice on Best Spinning Reels for Walleye.
Mastering the Jig and Minnow Presentation
Having the right gear is only half the battle; knowing how to properly present your jig and minnow is where the magic truly happens. It's about making that minnow look as natural and appealing as possible to attract strikes.
Tying On and Hooking Your Minnow Correctly
Before you even think about casting, you need to properly secure your jig to your line and your minnow to the jig. For tying your jig to the main line, a simple Palomar knot or an improved clinch knot works wonderfully and offers reliable strength. If you're using a fluorocarbon leader with braided main line, the Uni to Uni knot or an Albright knot are popular choices for joining the two. If knot tying is still a bit of a mystery, our article How to Tie a Fishing Knot for Beginners provides easy-to-follow instructions.
Now, for hooking the minnow, there are two primary methods, each with its own advantages:
-
Through the Lips: This is perhaps the most common way to hook a minnow. Simply pass the hook up through the bottom lip and out through the top lip, ensuring the hook point is exposed.
- Pros: This allows the minnow to swim naturally and stay lively for a long time. It also makes it easy for fish to engulf the minnow whole, leading to solid hooksets. It's excellent for vertical jigging or slow retrieves where you want natural movement.
- Cons: Aggressive retrieves or strong currents can sometimes tear the minnow off the hook more easily.
-
Behind the Dorsal Fin (or through the back): Gently slide the hook just beneath the minnow's dorsal fin, making sure not to injure its spine or vital organs, and again, keep the hook point exposed.
- Pros: This method keeps the minnow horizontal and often triggers a "dying" or "injured" action, which can be incredibly effective when fish are sluggish. It's also very secure, making it a good choice for casting and retrieving or when there's more current.
- Cons: Can be more prone to foul-hooking the minnow if not done carefully, which can kill it quickly. Fish might also nip at the tail without fully committing to the head, resulting in missed bites.
Experiment with both methods to see what the fish prefer on a given day. The goal is always to keep the minnow lively and well-presented.
Jigging Techniques for Different Scenarios
The beauty of the jig and minnow is in its adaptability to various presentations. Your retrieve and jigging motion will depend heavily on the depth, current, and fish activity.
-
Vertical Jigging: This technique is a staple for fishing deep water, directly below the boat, or in strong currents. You drop your jig and minnow straight down, maintaining constant contact with the bottom or the depth where fish are suspended.
- Motion: Use short, sharp lifts (6-18 inches) followed by a controlled fall. The key is to let the jig fall on a semi-slack line, allowing the minnow to flutter enticingly. Most bites happen on the fall or just as the jig settles back to the bottom. Feel for a "thump," a sudden weight, or even a slight slackening of the line. This is a primary method for Jigging for Walleye on Lake Sakakawea.
-
Pitching/Casting: When fishing shallower flats, weed lines, or structure from a distance, pitching your jig and minnow is the way to go.
- Motion: Cast your jig out, let it sink to the desired depth (often just above the bottom), and then use a series of short hops or drags along the bottom. Reel in the slack as you lift, feeling for any resistance. Pause frequently, allowing the minnow to sit momentarily on the bottom, which can often trigger a strike from following fish. This works well for covering more ground from a boat or from shore.
-
Drifting/Trolling: For covering large areas or when fish are scattered, a slow drift or controlled trolling (often with an electric trolling motor) can be very effective.
- Motion: Simply cast your jig and minnow out behind or to the side of the boat and let the boat's movement impart action. You can still add small lifts or pauses to entice strikes. This is a very subtle presentation that mimics a minnow swimming along or falling through the water column. Often, you're looking for structure or schools of fish on your fish finder, and presenting the minnow through those areas.
Reading the Bite and Setting the Hook
Detecting a bite with a jig and minnow can sometimes be incredibly subtle. It's not always a violent yank. Often, it's a slight "tick," a spongy feeling, or even just your line feeling heavy. Sometimes, your line might simply go slack when it should be taut, indicating a fish has picked up the jig on the fall.
- The "Thump": This is the classic bite you hope for – a distinct thud or tap felt through your rod. It usually means a fish has inhaled the bait.
- The "Weight": You might just feel a slight increase in pressure or weight on your line as you lift or retrieve. It's not a hard hit, but something is definitely different.
- The "Slack Line": Especially when vertical jigging or on the fall, if your line suddenly slackens when it should be tight, a fish might have grabbed the jig and continued swimming towards you.
When you feel any of these indicators, it's time to set the hook. Don't just yank hard, as you might pull the bait away from the fish or tear the minnow off. Instead, use a firm, sweeping motion upwards or to the side, taking up any slack as you do so. This sweeping motion helps drive the hook home into the fish's mouth. Practice makes perfect, and the more you fish a jig and minnow, the more intuitive bite detection and hook setting will become.
Seasonal and Locational Considerations in North Dakota
North Dakota's fishing seasons offer distinct opportunities for jig and minnow anglers. Understanding how fish behavior changes with the seasons can help you tailor your presentation and find success year-round.
Spring and Early Summer Success
Ah, spring! The ice has finally receded, and the water temperatures are on the rise. This is a prime time for the jig and minnow, especially for walleye. After the spawn, walleye are often hungry and can be found transitioning from their spawning grounds to shallower feeding flats. Lakes like Devils Lake and Lake Sakakawea come alive, and the jig and minnow shine.
- Location: Look for walleye in relatively shallow bays, points, and areas near river mouths or current breaks where baitfish are congregating. Water depths of 5-15 feet are often productive. The warming water pulls baitfish into these areas, and the walleye follow.
- Technique: A lighter jig (1/8 to 1/4 ounce) is often best in these shallower waters, allowing for a slower, more natural fall. Pitching and retrieving with a subtle hop or slow drag is very effective. As the water warms, fish become more active, and you might find them hitting more aggressively. Don't be afraid to experiment with slightly brighter jig colors if the water is stained from spring runoff. For more in-depth spring strategies, check out our guide on Early Spring Walleye Techniques in North Dakota. Remember, the official fishing season for many species kicks off in spring, so be sure to know When Does Walleye Season Open in North Dakota? each year.
Mid-Summer to Fall Tactics
As summer progresses and water temperatures peak, fish often move to deeper, cooler waters and relate more to structure. The jig and minnow remains effective, but your approach will likely shift.
- Location: Walleye, in particular, will often move to deeper offshore humps, reefs, main lake points, and deeper weed edges. Look for transition areas where different bottom types meet, or where current provides a break. On larger bodies of water like Lake Sakakawea, this often means exploring depths of 20-35 feet. For specifics on finding walleye in the warmer months, consult Best Depth for Summer Walleye on Sakakawea.
- Technique: Vertical jigging becomes more prevalent as you target deeper structure. You'll likely need heavier jigs (1/4 to 1/2 ounce) to maintain bottom contact and feel the bite accurately. Keep a close eye on your fish finder to locate schools of bait and predatory fish. As fall approaches, fish will begin their pre-winter feeding frenzy, often moving back to shallower breaks during low light conditions before retreating to deeper water. This transition period in the fall offers some of the best fishing opportunities, and a jig and minnow combo is incredibly potent. Our article on Fall Walleye Fishing Patterns in North Dakota can provide more details on this productive season. As you gear up for summer and fall, you might find a good selection of heavier jigs and larger minnow buckets for those longer trips available on Amazon.
Winter Ice Fishing with Jigs and Minnows
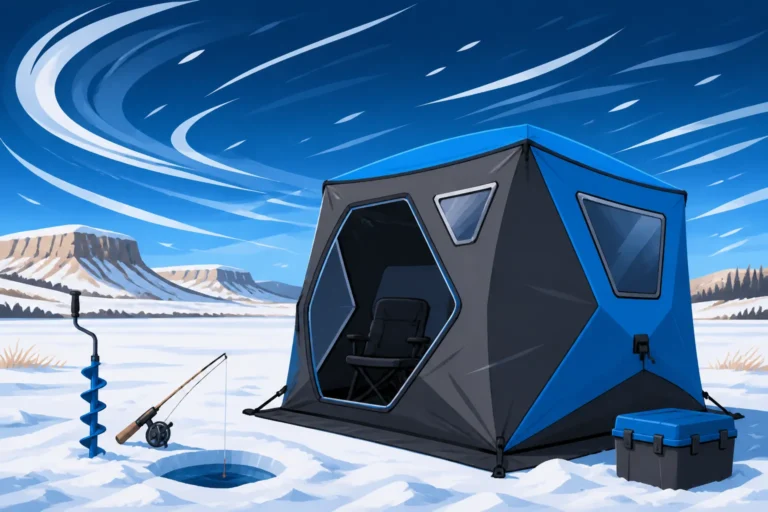
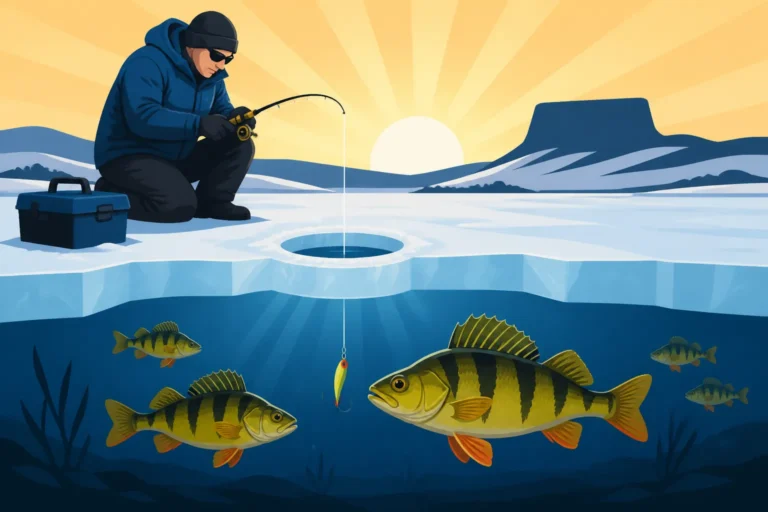
North Dakota winters mean ice fishing, and the jig and minnow combo is perhaps at its absolute peak during this time. Whether you're targeting perch on Devils Lake or walleye on Lake Audobon, a lively minnow below a small jig is often irresistible through the ice.
- Location: During early ice, fish might still be found in shallower bays and points, similar to late fall. As winter progresses and ice thickens, fish tend to move to deeper structure, basins, and specific areas where oxygen levels are stable and food is available. Using an ice auger to cut multiple holes and 'hole hop' to find active fish is a common and effective strategy.
- Technique: Finesse is often the name of the game. Use very light jigs (1/16 to 1/8 ounce, sometimes even smaller micro jigs for panfish) tipped with a small fathead or shiner.
- Deadsticking: This involves setting a rod in a holder with a jig and minnow just off the bottom or suspended at a specific depth, allowing the minnow to do all the work. It's especially effective for walleye.
- Subtle Jigging: With another rod, use very subtle lifts and drops, barely moving the minnow. Sometimes just a slight quiver of the rod tip is all it takes to trigger a bite. Keep an eye on your flasher or fish finder to see how fish react to your presentation. If you're looking to get started, our comprehensive guide on How to Ice Fish in North Dakota will set you up for success, and for those targeting panfish, tips on Best Ice Fishing Rod for Perch can be invaluable.
Jig & Minnow Combo Quick Reference
| Jig Weight (oz) | Target Depth (ft) | Target Species (Primary) | Minnow Type (Typical) | Best Conditions |
|---|---|---|---|---|
| 1/16 – 1/8 | 0-15 | Perch, Crappie, Walleye | Fathead, Small Shiner | Shallow, Finesse, Ice |
| 1/4 | 10-25 | Walleye, Smallmouth Bass | Fathead, Shiner | Versatile, Moderate Current |
| 3/8 | 20-40+ | Walleye, Pike, Catfish | Shiner, Rainbow Minnow | Deeper, Current, Active |
| 1/2+ | 30-50+ | Walleye, Pike, Catfish | Larger Shiner, Sucker | Strong Current, Very Deep |
The jig and minnow combo is a classic for a reason: it's incredibly effective, versatile, and approachable for anglers of all skill levels. By understanding the nuances of your gear, mastering your presentation, and adapting to North Dakota's ever-changing seasons, you'll be well on your way to more successful fishing trips. So, grab some lively minnows, tie on your favorite jig, and get ready to feel that satisfying thump!
Disclaimer
This article is for general informational purposes only and does not constitute professional advice. Laws, prices and regulations vary by location and change over time. Consult a qualified professional for guidance on your specific situation.