How to Find Walleye Structure With a Map
It's a familiar feeling for any angler, isn't it? You arrive at a North Dakota lake, boat loaded, rods rigged, and a hopeful gleam in your eye, only to stare out at a vast expanse of water and wonder, "Where on earth do I even begin to find the walleye?" It can be incredibly frustrating to spend hours trolling or casting in seemingly random spots, coming up empty-handed while hearing whispers of other anglers pulling in limits. The truth is, success often comes down to understanding where walleye live, and the secret weapon in your arsenal for figuring that out before you even launch the boat is a good fishing map. This guide will walk you through exactly how to decipher those intricate lines and symbols to pinpoint prime walleye structure, turning your fishing trips from a game of chance into a strategic pursuit.
Understanding Walleye and Their Habitat Preferences
To effectively use a map to find walleye, you first need to think like a walleye. What makes a particular spot appealing to them? What are they looking for throughout the day and across different seasons? It's not just about depth; it's about the entire ecosystem of that underwater real estate.
Why Walleye Love Structure
Walleye are opportunistic predators with a keen sense for ambush points. They aren't constantly chasing baitfish in open water like some pelagic species. Instead, they prefer to lie in wait, concealed by underwater features, ready to dart out and snatch an unsuspecting meal. This is why structure is so incredibly important to them – it provides cover, a strategic hunting ground, and often, temperature advantages. They are also sensitive to light, especially bright sunlight, so deeper water or areas with natural shade become vital sanctuaries during midday.
Think of it like this: if you were a predator trying to catch dinner, would you stand in the middle of an open field, or would you hide behind a bush, waiting for your prey to pass by? Walleye operate on the same principle. The contours, humps, and breaks on a map are essentially those underwater "bushes" and "hiding spots" that offer them an advantage. Understanding this fundamental preference is the first step to successful map interpretation.
Key Structure Types Walleye Utilize
When you look at a map, you'll see a myriad of lines and symbols, each representing a unique underwater feature. Learning to identify and understand these common structures is paramount. These aren't just random bumps; they are potential walleye hotels, dining rooms, and safe zones.
Points and Humps: Points are underwater extensions of land, tapering out into the main body of water. Humps are submerged islands, completely surrounded by deeper water. Both are phenomenal walleye magnets, especially where the point or hump drops off into deeper water. Walleye will often cruise these edges, moving up to feed on the shallower top during low light or retreating to the deeper sides when boat traffic or bright sun increases. They act as natural fish highways and ambush points.
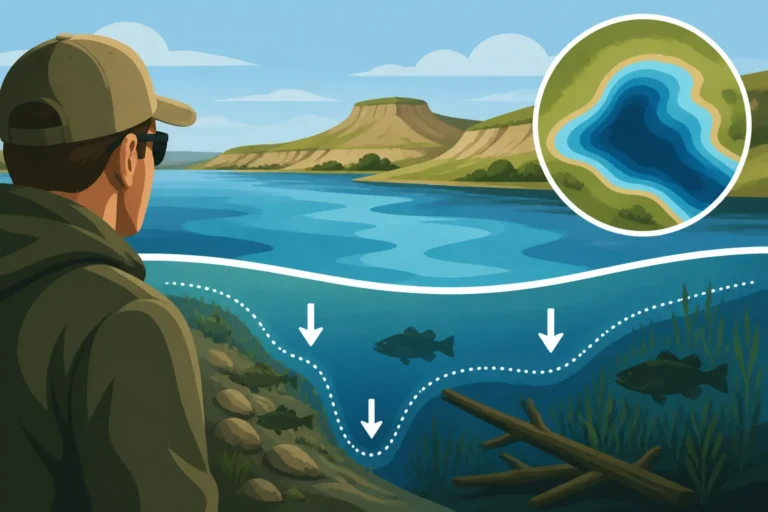
Breaklines: A breakline is essentially an abrupt change in depth – think of it as an underwater cliff or shelf. These are perhaps the most important features for walleye anglers. Walleye will often stack up on these breaks, especially the inside turn (where the break curves inward, creating a pocket) or the outside turn (where it curves outward, forming a point on the break). A subtle breakline might only be a few feet of depth change, while a dramatic one could be a steep drop-off of many yards. Learning to identify these on a map, particularly where they connect to other structures, is a game-changer. For more on these vital spots, check out our guide on Deep Water Structure Fishing Techniques.
River Channels and Flats: In reservoirs like Lake Sakakawea or Lake Oahe, the old river channel is a consistent walleye holding area. It provides a natural migration route and access to deeper, cooler water. Adjacent flats, especially those with subtle depth changes or scattered rocks, can be feeding grounds where walleye move up from the channel. In natural lakes, large, relatively flat areas with consistent depth might not seem like "structure," but if they have subtle contour changes, rock piles, or weed beds, they become prime hunting grounds.
Sunken Timber and Rock Piles: While not always explicitly marked on every map, areas known for submerged timber or man-made rock piles are excellent walleye cover. On a map, you might infer these by seeing areas of shallow water adjacent to deeper water, particularly if old treelines or rocky shorelines were present before a reservoir was filled. If your map shows a "rocky bottom" indicator in an area with good contour, that's definitely worth investigating. These hard bottom areas attract baitfish and crayfish, which in turn attract walleye.
Seasonal Movements and Structure
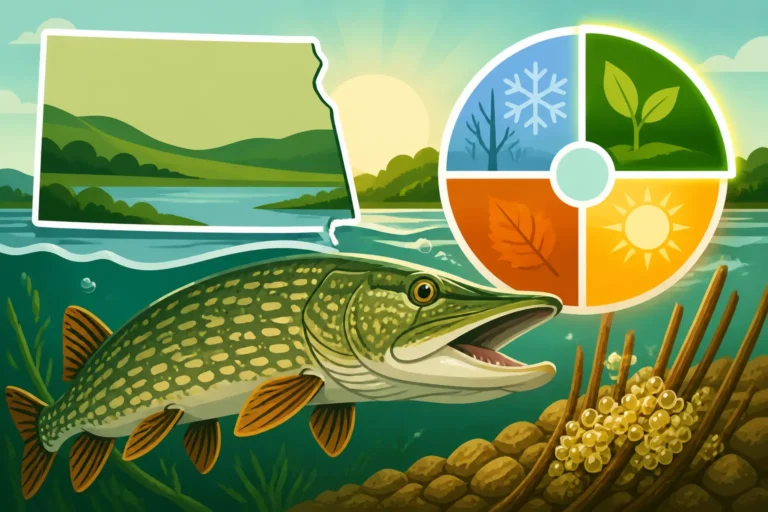
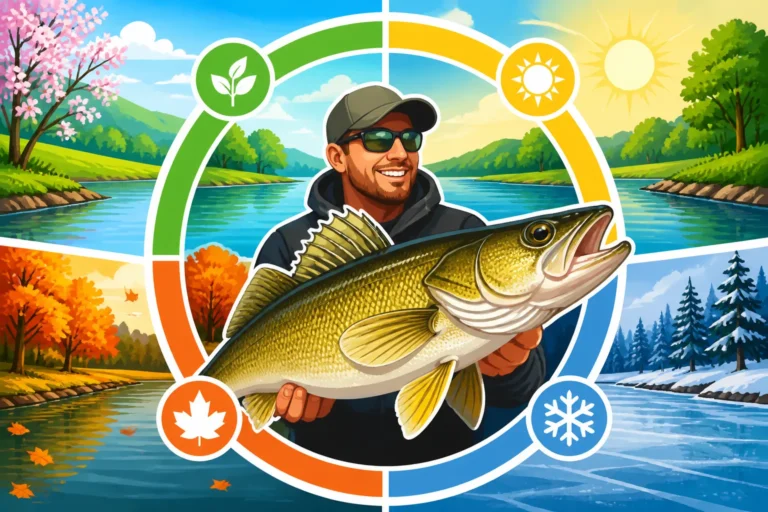
The way walleye use structure isn't static; it changes dramatically with the seasons. A spot that's hot in spring might be barren in summer. Understanding these shifts helps you interpret your map with a seasonal lens. In early spring, walleye are often found near shallower spawning grounds, frequently on rocky points or shallow reefs, and your map can guide you to these areas. As the water warms in summer, they often retreat to deeper, cooler water, concentrating on main lake humps, deep breaklines, and the old river channels, often near thermoclines if present. Our article on Seasonal Fish Movement Patterns in North Dakota Lakes goes into even more detail.
Fall fishing sees walleye returning to shallower areas, often migrating back to points and flats as they bulk up for winter, and these areas will show up clearly on a contour map. Even in winter, when you're ice fishing, walleye will relate to structure – especially the shallower edges of humps and breaklines where baitfish gather. So, while the structure itself is permanent, the walleye's precise location on or near it will vary.
Essential Maps and Tools for Anglers
Having a map is one thing; knowing how to use it is another. Luckily, modern technology has made map interpretation and navigation incredibly accessible, bridging the gap between flat paper and three-dimensional underwater reality.
Types of Fishing Maps
Today's angler has a fantastic array of mapping options, from traditional paper to highly advanced digital charts. Each has its place, and often, combining them offers the best results.
Digital Chartplotter Maps (Navionics, LakeMaster): These are arguably the gold standard for serious anglers. Brands like Navionics and LakeMaster provide incredibly detailed bathymetric charts that can be loaded onto your boat's fish finder/chartplotter combo unit or accessed via mobile apps. They show contour lines in great detail, often with color shading to highlight depth ranges, and may even include satellite imagery, navigation aids, and points of interest. These maps are dynamic, allowing you to zoom, scroll, and often customize views to highlight specific depths or structures. You can easily find these kinds of devices and associated software on sites like Amazon, making it convenient to gear up.
Paper Contour Maps: Don't underestimate the power of a good old-fashioned paper map. They are durable, don't require batteries, and give you a great "big picture" overview of an entire lake. Many anglers like to spread a paper map out at home, marking potential spots with a highlighter and planning their day before ever hitting the water. They are excellent for identifying major structural elements and general depth contours, serving as a reliable backup when electronics might fail or if you're navigating unfamiliar waters.
DNR Bathymetric Maps: The North Dakota Game and Fish Department often provides basic bathymetric maps for many public waters. While these might not have the same level of detail as commercial digital charts, they are a fantastic free resource for understanding the general layout and depths of smaller lakes and reservoirs. They are a great starting point, especially for less-pressured waters that might not be covered by commercial mapping products. These can often be found on the NDGF website or at local bait shops.
Interpreting Contour Lines and Depth Charts
This is where the real magic happens. Contour lines are the squiggly lines on your map, each representing a specific depth. Understanding them is like understanding the language of the lakebed.
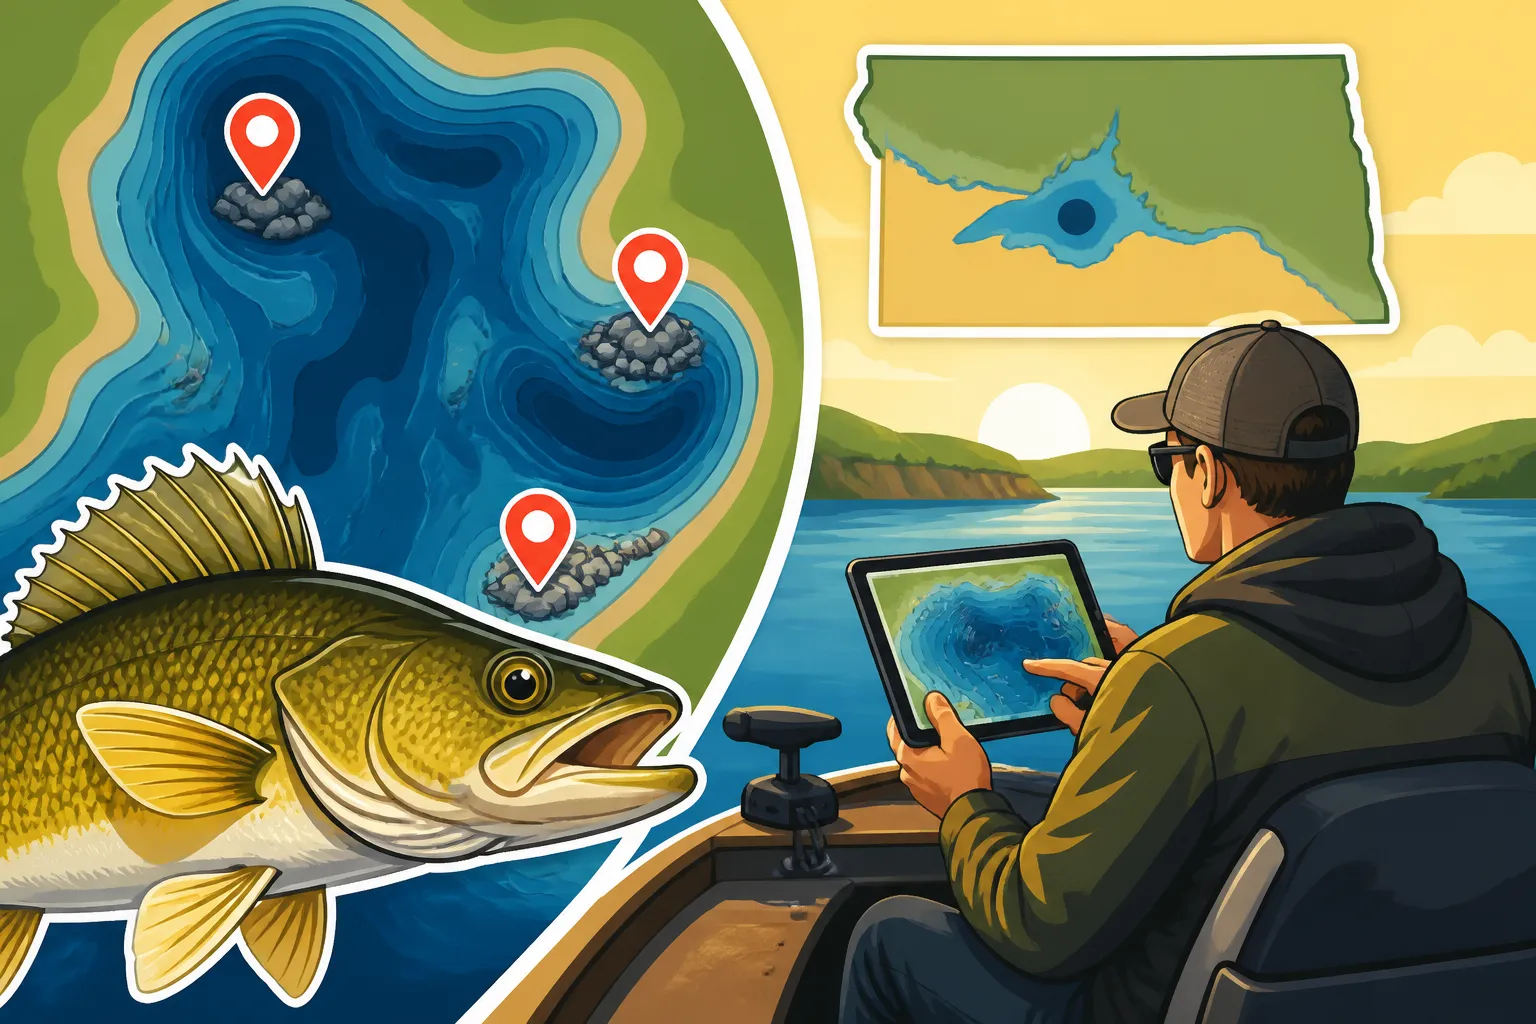
Reading Contour Lines: Each contour line connects points of equal depth. The closer the lines are together, the steeper the drop-off. If the lines are far apart, you're looking at a flatter, more gradual slope. When you see a series of closely packed lines, followed by widely spaced lines, that's a breakline – a sudden change from shallow to deep, or vice-versa. Walleye love these transitions. A hump will show as a series of concentric circles or ovals, with the shallowest depth in the center. A point will look like a V or U shape pointing towards deeper water.
Identifying Depth Changes and Transitions: Don't just look at the lines; look at the change between them. A common walleye strategy is to target the "break of the break," which means the point where a gradual slope suddenly steepens, or vice-versa. On a map, this would be where contour lines transition from being widely spaced to tightly packed, or vice versa. These subtle transitions, often just a few feet difference in depth, can hold a concentration of fish. Identifying these on your map means you're already halfway to finding those elusive fish.
Understanding Shaded Depth Ranges: Many digital maps use color shading to denote different depth ranges. For instance, shallower water might be light blue, transitioning to darker blues and even greens for deeper areas. This visual cue makes it much easier to quickly identify large flats, deep basins, and prominent breaklines at a glance. You can often customize these ranges to highlight specific depths that you know are productive for walleye in a given season, for example, highlighting everything between 15-25 feet during summer.
Using Digital Apps and GPS
Modern fishing has been revolutionized by digital mapping apps and GPS technology. These tools take map reading from a static exercise to a dynamic, real-time navigation system.
Mobile Apps for On-the-Go Analysis: Apps like Navionics Boating or LakeMaster One bring the power of detailed chartplotters to your smartphone or tablet. You can study lake maps from your couch, mark waypoints, and even use your device's GPS to navigate on the water. This is incredibly useful for smaller boats, kayaks, or shore anglers who want detailed information without a full marine electronics setup. Many anglers use a large tablet, which can be purchased from Amazon, for a clear view of these detailed maps.
Integrating with Your Boat's GPS/Fish Finder: This is where the magic truly unfolds. Your boat's chartplotter uses the detailed digital maps to show your exact position on the lake in real-time. As you move, you can see how your boat relates to humps, points, and breaklines. You can drop waypoints on productive spots, mark areas of interest (like baitfish schools or submerged timber seen on your sonar), and then easily navigate back to them. Learning to operate your specific unit and integrate its sonar returns with the map is an advanced skill that will significantly boost your success. For more on this, our article Best Fish Finder Settings for Walleye offers some great advice.
Step-by-Step Guide to Identifying Walleye Hotspots on a Map
Now that you understand the "why" and "what" of maps and walleye, let's put it all together into a practical, step-by-step process for pinpointing those prime locations.
Starting with the Big Picture: Identify Major Features
Don't dive into the minutia immediately. Begin by looking at the entire lake or a large section of it on your map. What are the dominant features? Is it a sprawling reservoir with a main river channel, like Lake Sakakawea, or a smaller natural lake?
Main Lake Basin and River Channels: Identify the deepest parts of the lake – often the main lake basin or the historical river channel in a reservoir. These deep areas provide security and thermal refuge for walleye, especially during hotter months. Look for where these deep areas constrict, creating bottlenecks or tighter turns, as these can funnel fish. In the Missouri River system, locating the original river channel is critical, as walleye will often relate to its edges.
Large Bays and Inlets: Note any significant bays or inlets. These areas often warm faster in spring, attracting baitfish and then walleye. Look for bays with distinct structures within them, such as points or smaller humps, rather than just uniform flats. A good example might be the large bays on the north side of Devils Lake, which are renowned for their walleye and perch populations.
Zooming In: Pinpointing Key Transitional Areas
Once you have the big picture, start to zoom in on areas that look promising. This is where you'll hone in on the specific structure that walleye actively use.
Connecting Deep Water to Shallow Feeding Grounds: Look for areas where a distinct breakline connects deep water (security/refuge) to shallower feeding flats or points (ambush/forage). Walleye use these "travel corridors" to move up and down in the water column throughout the day. A long, tapering point that gradually extends from shore into the main lake basin, with distinct breaklines on its edges, is a textbook walleye spot.
Focus on "Hard" Transitions: Look for areas where the contour lines indicate a change in bottom composition if your map provides that detail (e.g., rock to mud, sand to gravel). Walleye often prefer hard bottom for feeding and spawning. If your map doesn't show bottom composition, look for the steepest breaklines, as these are often associated with harder bottom content. These areas also tend to hold more baitfish and invertebrates.
Identifying Constrictions and Funnels: On river systems or elongated reservoirs, look for narrow sections, necks, or channels. These create natural current breaks and funnel points for both baitfish and predatory walleye. Walleye will often stack up in front of or behind these constrictions, out of the main current, waiting for an easy meal. This is a common pattern for walleye on the Red River, for instance, where they utilize bends and slower eddies. You can learn more about finding them in our guide, Red River Catfish Fishing Spots in North Dakota, as walleye also share some of these preferred areas.
Connecting the Dots: Current, Wind, and Forage
A map shows you the static underwater topography, but walleye are dynamic creatures influenced by environmental factors. Learning to overlay these elements onto your map reading is crucial.
Understanding Wind's Influence: Wind can be a walleye angler's best friend. Consistent wind pushes baitfish and plankton, creating current and food concentrations on the windy side of points, humps, and shorelines. On your map, identify structures that will be "washed" by prevailing winds. Walleye will often position themselves on the downwind side of these structures, facing into the current created by the wind, waiting for an easy meal to be delivered. This is especially true on large bodies of water like Lake Sakakawea.
Current Breaks in Riverine Systems: In flowing water, current is king. Walleye will always seek out current breaks – areas where they can expend minimal energy but still be in a prime ambush position. On your map, look for structures that will disrupt the current, creating eddies, seams, or calm pockets. This could be a large point extending into the river channel, a bridge piling, or an abrupt bend in the river. The "face" of these structures, particularly on the downstream side, can be highly productive. For more specific details, see our article on Fishing During North Dakota's Windy Spring.
Locating Forage on the Map (Indirectly): While maps don't show schools of baitfish, they show the habitat that baitfish prefer. Shallow flats with some cover, weed beds (if marked), or the edges of river channels are all likely places for forage. By identifying these areas on your map, and then finding adjacent walleye structure, you're putting yourself in a high-probability zone. Remember, walleye are where the food is, so thinking about the baitfish distribution is just as important as the structure itself.
Marking Waypoints and Planning Your Attack
Once you've identified several potential hotspots on your map, the next step is to translate that information into an actionable fishing plan.
Digitally Marking Your Spots: On a digital map, mark each promising piece of structure with a waypoint. Give them descriptive names (e.g., "North Point Deep Break," "Hump South Edge"). If you're using a paper map, physically mark these spots with a pen or a sticky note. Having these waypoints saved means you can easily navigate to them, whether you're using your boat's GPS or simply referencing your phone.
Developing a Search Pattern: Don't just go to one spot and stick there all day. Plan a milk run of several different types of structure across various depths and locations. Start with a few prime spots, but have backups. Consider how long it will take to get between spots and what factors (wind, sun position, boat traffic) might change throughout the day. For example, you might start on a shallow point in the morning, move to a main lake hump in midday, and finish on a deeper breakline in the evening. This strategic approach, informed by your map analysis, significantly increases your chances of finding active fish.
Common Challenges and Troubleshooting Map Reading
Even with the best maps and knowledge, you might encounter situations that make map reading tricky. Don't get discouraged – these are common challenges that every angler faces.
When the Map Doesn't Match Reality
It happens. You arrive at a spot that looked phenomenal on the map, only to find the depths are different, or the structure isn't quite what you expected. This can be frustrating, but it's part of the learning curve.
Outdated Maps and Water Level Fluctuations: Remember that most maps are created at a specific point in time and at a specific water level. North Dakota's reservoirs, especially, can experience significant water level fluctuations. A spot that showed a distinct hump at full pool might be a shallow flat or even dry land during low water. Always check current water levels before heading out. If your map is several years old, understand that some details might have changed. Use your sonar to verify depths and structure once you're on the water.
Interpreting Subtleties that Aren't Marked: Not every small rock pile or isolated weed clump will be explicitly marked on a map, especially in older versions. These "unmarked" subtleties can be crucial walleye magnets. Use your fish finder and side imaging (if you have it) to scan these areas for additional details once you've arrived at a map-identified spot. The map gets you to the general area; your electronics help you pinpoint the precise strike zone. Sometimes, a map will indicate a "rocky" bottom, but only your sonar will show that one specific boulder holding a school of walleye.
Overwhelmed by Information: Strategies for Simplifying Map Interpretation
Modern digital maps are incredibly detailed, and sometimes the sheer volume of information can feel overwhelming. It's easy to get lost in all the lines and colors.
Focus on Key Depth Ranges for the Season: Don't try to interpret every single contour line across the entire lake. Instead, narrow your focus. If it's summer and you know walleye are generally holding in 20-30 feet of water, ignore the shallower contours for now and concentrate on features within that depth range. This simplifies the map significantly and helps you quickly identify relevant structure. For tips on specific seasonal patterns, our guide on Fall Walleye Fishing Patterns in North Dakota can be a great resource.
Highlighting and Customization: Many digital mapping programs allow you to customize your display. You can often highlight specific depth ranges with distinct colors, making it easy to see where, for example, the 15-foot contour is across the lake. You can also turn off less relevant features (like navigation buoys if you're fishing a small, clear lake) to reduce clutter. Utilize these features to make the map work for you and your specific fishing goals.
Prioritizing Structure Types: If you're new to a lake, don't try to fish every single point, hump, and breakline. Pick one or two dominant structure types that have a good reputation for walleye in that body of water. For example, on Lake Sakakawea, you might focus heavily on the main river channel edges and large points. On Devils Lake, you might prioritize humps and submerged roadbeds. As you gain experience, you can expand your search.
Using a fishing map isn't just about finding fish; it's about gaining a deeper understanding of the underwater world and approaching your fishing trips with confidence and strategy. With practice, you'll find yourself reading those lines like a seasoned pro, dramatically improving your North Dakota walleye success.
| Structure Type | Description | Walleye Holding Characteristics | Best Seasons |
|---|---|---|---|
| Points | Underwater extensions of land, tapering into the lake. | Ambush points, travel lanes. Walleye use deeper sides as refuge, shallower tops for feeding. | All seasons, especially productive in spring and fall. |
| Humps | Submerged islands, completely surrounded by deeper water. | Often baitfish magnets, providing structure in otherwise featureless deep water. | Primarily summer and winter. |
| Breaklines | Abrupt changes in depth, like underwater shelves or ledges. | Prime ambush locations, thermal refuges, and migratory routes. | All seasons, but critical for summer and winter deep-water walleye. |
| River Channels | The original riverbed in a flooded reservoir (e.g., Sakakawea, Oahe). | Deep water access, travel corridors, current breaks along edges. | All seasons, but especially important in summer. |
| Flats (with features) | Relatively shallow, expansive areas with subtle changes, rock, or weeds. | Feeding grounds for walleye moving up from deeper breaks or channels. | Spring, early summer, and fall. |
| Sunken Timber/Rocks | Submerged trees, brush piles, or natural/man-made rock piles. | Excellent cover, ambush points, and baitfish habitat. Often found on breaks. | All seasons, especially in areas with current. |
Disclaimer
This article is for general informational purposes only and does not constitute professional advice. Laws, prices and regulations vary by location and change over time. Consult a qualified professional for guidance on your specific situation.