How to Fillet a Northern Pike Without Bones
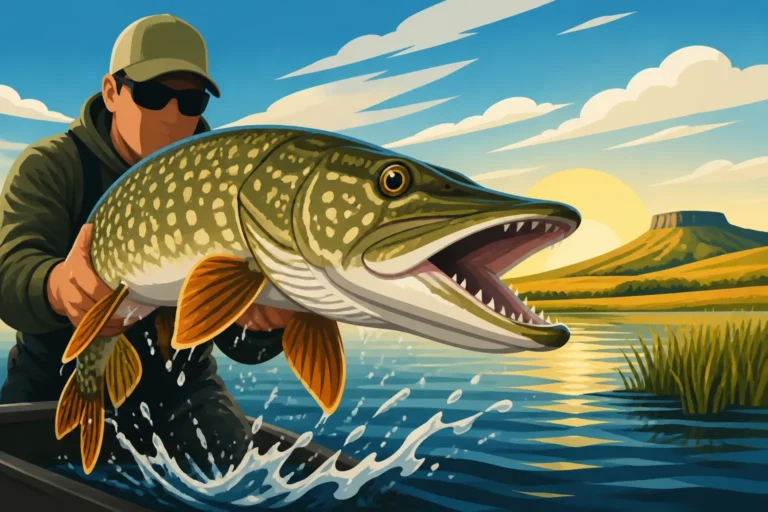
Ah, the northern pike! What a magnificent fish to catch here in North Dakota, full of fight and a true test of skill, especially in waters like Lake Sakakawea or Devils Lake. But let's be honest, many anglers, myself included, have looked at a freshly caught pike and thought, "Now what about those dreaded Y-bones?" It's a common frustration, making a delicious meal seem like a culinary engineering project, leaving many to dismiss this powerful predator as a table fish. Well, worry no more, because this guide is here to walk you through a foolproof method for filleting a northern pike, ensuring you get those beautiful, boneless fillets every single time, turning that challenge into a triumph and making you proud to serve up some fantastic pike.
Why Northern Pike Fillets Get a Bad Rap (and How to Fix It)
It's a conversation I've had countless times at boat launches and around campfires across North Dakota: "Pike are too bony to eat." And I get it! Many folks have tried to fillet a northern pike just like they would a walleye or a perch, only to be met with a frustrating maze of small, sharp bones running through the meat. This isn't just a minor annoyance; it can truly ruin a meal and put people off an otherwise fantastic fish. But the truth is, northern pike are incredibly delicious, with firm, white, flaky meat that's perfect for frying, baking, or even making fish tacos. The key is simply understanding their unique bone structure and adapting your filleting technique accordingly.
The "Y-Bone" Enigma: What Are They?
Unlike many other fish species that have a single backbone and a neat row of rib bones, northern pike have an additional set of bones known as "Y-bones." These aren't connected to the main backbone directly, but rather run along the lateral line, branching out into a "Y" shape within the upper loin of the fillet. Imagine a tiny tuning fork embedded in the meat – that's essentially what you're dealing with. They are a series of intramuscular bones, which means they are literally in the muscle tissue, not just attached to the skeleton. This is why a standard filleting approach leaves so many bones behind, making for a less-than-pleasant eating experience. Trying to pick them out at the dinner table is a tedious task no one enjoys. Understanding where these bones are located is the first step to conquering them.
Debunking the Myths: Pike are Delicious!
It's high time we bust the myth that northern pike aren't good table fare. They are! The meat is often described as mild, slightly sweet, and firm, holding up wonderfully to various cooking methods. I’ve enjoyed pike from many of North Dakota's Northern Pike Fishing Guide spots, and when prepared correctly, they can rival the taste of almost any freshwater fish. The fear of bones is the biggest barrier, and once you master the technique, you'll open up a whole new world of angling and culinary enjoyment. Don't let those Y-bones deter you from enjoying one of North Dakota's most exciting game fish. Once you get the hang of it, you'll be asking, Are Northern Pike Good to Eat?, with a resounding "Yes!"
Assembling Your Arsenal: Essential Tools for Boneless Pike
Before you even think about making the first cut, having the right tools for the job is paramount. Trying to fillet a pike with a dull knife or on an unstable surface is a recipe for frustration and potentially injury. Trust me, I've seen it, and I've experienced it myself in my earlier days. A little preparation goes a long way in making the filleting process smooth, efficient, and enjoyable, ensuring you end up with those beautiful boneless fillets you’re after.
The Right Fillet Knife Makes All the Difference
Your fillet knife is your most important tool. Forget about using a standard kitchen knife; you need something designed for the task. A good fillet knife should be sharp, flexible, and have a blade length appropriate for the size of pike you're cleaning. For most North Dakota pike, a 7 to 9-inch flexible blade is ideal. The flexibility allows you to follow the contours of the fish's bones without hacking through them. A sharp edge is non-negotiable – it makes clean cuts, reduces effort, and is actually safer than a dull knife that can slip. You can often find a fantastic fillet knife on Amazon, and it's an investment that pays dividends. Consider checking out options discussed in articles like Best Fillet Knives for Walleye and Pike for specific recommendations. An electric fillet knife can also be a game-changer for speed and consistency, especially if you're cleaning a lot of fish, and is worth exploring if you're looking for an upgrade, as detailed in Electric vs Manual Fillet Knife.
Preparing Your Workspace: Boards, Bowls, and Rags
Beyond the knife, a few other items will make your filleting station efficient.
- Cutting Board: A large, non-slip cutting board is essential. A wooden board might be traditional, but plastic or composite boards are easier to clean and sanitize, which is crucial for food safety. Look for a board with a channel around the edge to catch juices. Again, Amazon has a great selection of Best Cutting Board for Cleaning Fish that are perfect for this job.
- A Separate Bowl for Scraps: Have a bowl or bucket ready to collect the skin, bones, and other off-cuts. This keeps your workspace clean and prevents cross-contamination.
- Wet Rags or Paper Towels: Keep a damp rag nearby to wipe your hands and the knife frequently. Fish slime can make everything slippery, and a clean grip is a safe grip.
- Cooler with Ice: As soon as you finish a fillet, you want to get it on ice to preserve its freshness. Have a cooler ready, packed with ice, to immediately chill your boneless pike. This is critical for taste and texture. Read more about Best Coolers for Keeping Fish Fresh to make sure your catch stays pristine.
Having all these elements in place beforehand means you can focus on the cuts without interruption, making the process much smoother and more enjoyable.
The Five-Cut Method: Your Path to Boneless Pike Fillets
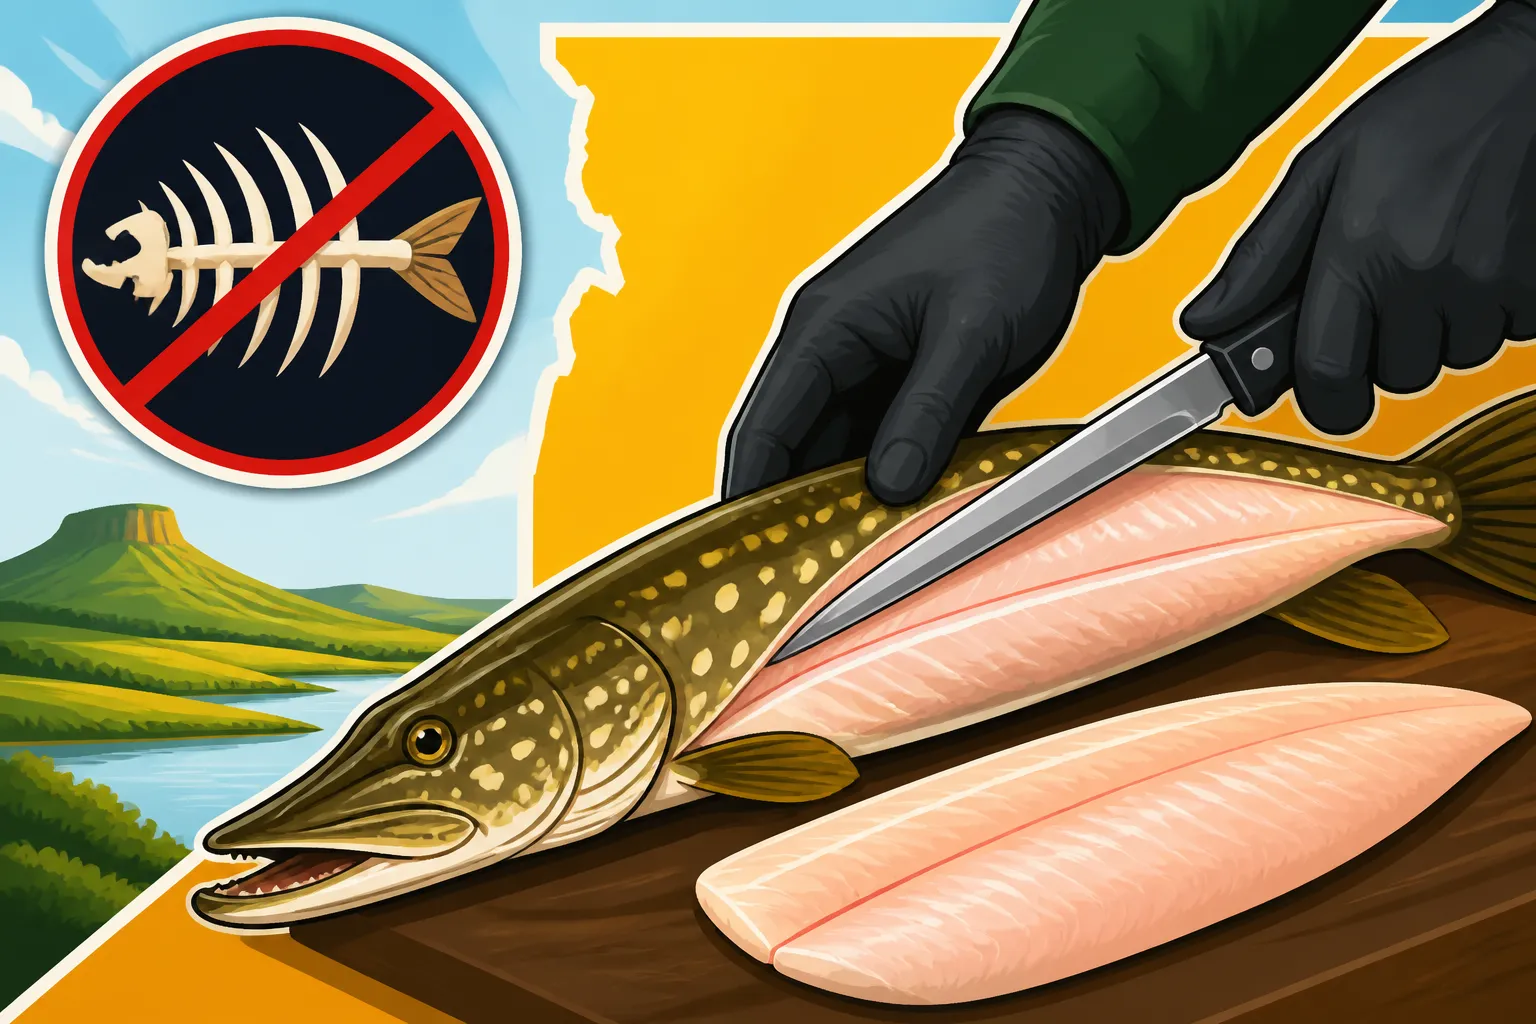
This is where the magic happens! The "Five-Cut Method" is specifically designed to navigate around those tricky Y-bones, allowing you to extract beautiful, clean fillets. It might sound complex, but once you do it a couple of times, it becomes second nature. This method focuses on separating the upper loin (which contains the Y-bones) from the lower loin and then removing the Y-bones from the upper loin separately, or simply discarding that small portion if you prefer.
Cut 1: The Initial Back Cut
Start by placing the pike on your cutting board, belly facing you. Make a deep cut behind the gills, all the way down to the backbone. Don't cut through the backbone yet. Then, turn your knife blade flat and run it along the top of the backbone, from the first cut all the way to the tail. You're essentially separating the top meat from the spine. You'll feel the ribs as you go – just slice over them. This creates the first half of your fillet, but it will still be attached at the ribs and the Y-bones. The goal here is to get a nice, clean slab of meat off the backbone without immediately worrying about the Y-bones. This initial cut is similar to filleting many other fish, providing a familiar starting point.
Cut 2: Freeing the Top Loin
Now, let's address the Y-bones. With the fillet still attached to the fish, find the row of Y-bones. They usually run about halfway down the thickest part of the back fillet, along the lateral line. Carefully make a cut above these Y-bones, running from head to tail. You're essentially separating the upper loin (which contains the Y-bones) from the lower, boneless belly meat. Once you've made that cut above the Y-bones, then angle your knife and cut under the Y-bones, following their contour as best you can. You'll be taking a long, thin strip of meat containing all those Y-bones, completely detaching it from the rest of the fillet. This leaves you with a boneless top loin and a boneless belly strip. Many anglers choose to discard this strip with the Y-bones entirely, but if you're feeling adventurous and want to maximize your yield, you can try to carefully carve out the Y-bones from this strip. For beginners, I recommend removing this entire strip.
Cut 3: The Rib Cage Removal
With the main backbone-side meat mostly detached and the Y-bone strip removed, you'll now have a larger piece of fillet still attached at the rib cage. Carefully slide your flexible fillet knife under the ribs, starting from the head end. With steady, smooth strokes, run your knife along the rib cage, keeping the blade close to the bones to maximize your meat yield. The goal is to separate all the meat from the ribs in one clean piece. Once you've done this, the entire fillet should be free from the fish's body, leaving you with a glorious, boneless piece of pike. Repeat this process for the other side of the fish. This cut is crucial for getting all that delicious meat off the frame.
Cut 4: The Strategic Y-Bone Removal
Wait, didn't we remove the Y-bones in Cut 2? Yes, we removed the strip that contains them. Now, if you are committed to maximizing yield and want to keep that small Y-bone strip, this is the time to carefully remove them. Lay the Y-bone strip flat. You'll see the distinct row of Y-bones. With your sharp fillet knife, make two careful cuts along either side of the Y-bone row, effectively creating a small, boneless strip of meat on each side and discarding the very thin middle piece containing the bones. This cut requires a bit of finesse and a very sharp knife. For most home cooks, especially those new to pike, simply discarding the entire Y-bone strip from Cut 2 is often the easiest and most practical approach. However, for those who want to get every last bit of meat, this is how you do it.
Cut 5: Skinning the Fillet
Finally, it’s time to remove the skin. Lay your boneless fillet skin-side down on the cutting board. Make a small cut at the tail end, just through the skin, leaving a small flap of skin attached to the table. Grip this flap firmly. Angle your knife slightly downward, keeping the blade almost parallel to the cutting board, and slide it between the skin and the meat, working your way from the tail to the head. Use a gentle sawing motion, pulling the skin with your other hand to keep tension. This should leave you with a perfectly clean, skinless, boneless northern pike fillet. Repeat for all your fillets. This final step reveals the pure, white meat ready for cooking.
Here's a quick summary of the cuts:
| Cut Number | Description | Purpose | Result |
|---|---|---|---|
| 1 | Initial Back Cut | Separate meat from backbone, from head to tail, over ribs. | Fillet attached at ribs and Y-bones. |
| 2 | Freeing the Top Loin / Y-Bone Strip Removal | Cut above and under the Y-bones to remove the bone-laden strip. | Boneless upper loin and belly meat (Y-bone strip removed). |
| 3 | Rib Cage Removal | Slide knife under ribs, following contour, to detach fillet. | Fully detached, boneless fillet. |
| 4 | Strategic Y-Bone Removal (Optional) | Carefully cut along either side of the Y-bones in the removed strip. | Two small boneless strips from the original Y-bone section. |
| 5 | Skinning the Fillet | Slide knife between skin and meat from tail to head. | Clean, skinless, boneless fillet. |
Post-Fillet Perfection: Care and Storage for Your Prized Pike
You've done it! You've navigated the Y-bones and have a beautiful pile of boneless northern pike fillets. But the job isn't quite finished. Proper care and storage are just as important as the filleting itself to ensure your hard-earned catch tastes amazing when it hits the plate. A perfectly filleted fish can still be ruined by improper handling, so let’s make sure that doesn't happen.
Rinsing and Drying for Optimal Flavor
Once your fillets are boneless and skinned, give them a quick, gentle rinse under cold running water. This helps remove any lingering scales, slime, or blood. However, don't over-rinse, as too much water can affect the texture and flavor. After rinsing, it's crucial to pat the fillets thoroughly dry with paper towels. Excess moisture can lead to a "fishy" taste and can also contribute to freezer burn if you're planning to store them long-term. Dry fillets also cook better, whether you're pan-frying them to a golden crisp or preparing them in other ways. This simple step makes a huge difference in the final culinary experience.
Packaging for Freshness: Freezer Burn No More!
For immediate consumption, keep your dried fillets in an airtight container in the refrigerator and plan to cook them within a day or two. For longer storage, freezing is your best friend. The key to successful freezing is to prevent freezer burn, which happens when air comes into contact with the fish, drying it out and degrading its texture and flavor.
Here are a few effective methods:
- Vacuum Sealing: This is, hands down, the best method for long-term storage. A vacuum sealer removes all the air from the package, creating an airtight seal that can keep your pike fresh for many months. You can find excellent vacuum sealers on Amazon that will pay for themselves by preserving your catch.
- Water Packing: If you don't have a vacuum sealer, water packing is a fantastic alternative. Place your dried fillets in freezer-safe bags or containers and then completely cover them with cold water before sealing and freezing. The ice block forms a protective barrier against air. This method works incredibly well and is a favorite among many North Dakota anglers.
- Heavy-Duty Freezer Bags: If using standard freezer bags, try to remove as much air as possible before sealing. You can do this by submerging the bag (with the seal partially open) into a bowl of water, allowing the water pressure to push the air out before sealing it completely. Double-bagging can also add an extra layer of protection.
Properly stored pike can last for several months in the freezer. When you're ready to cook, thaw them slowly in the refrigerator overnight for the best results. With this boneless filleting method and proper storage, you'll be enjoying delicious northern pike long after your fishing trip, proving that this magnificent fish is indeed a fantastic meal waiting to happen!
Disclaimer
This article is for general informational purposes only and does not constitute professional advice. Laws, prices and regulations vary by location and change over time. Consult a qualified professional for guidance on your specific situation.