How to Spool a Spinning Reel for Walleye
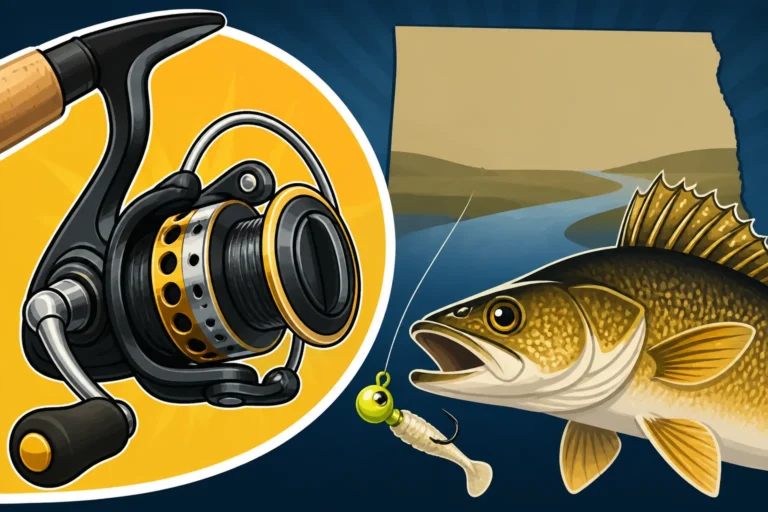
One of the most frustrating things on a fishing trip is battling a bird's nest of line, watching your perfect cast fall short, or feeling your line twist into oblivion. When you're out on the water, especially chasing elusive walleye in North Dakota's vast lakes and rivers, the last thing you want is equipment failure due to something as preventable as improper line spooling. This guide is all about helping you master the art of spooling a spinning reel, ensuring smooth casting, effective retrieves, and ultimately, more fish in the net, particularly those prized North Dakota walleye.
Understanding Your Spinning Reel and Line Choice for Walleye
Before you even think about putting line on your reel, it's crucial to understand why proper spooling is so fundamental and to pick the right line for the job. A spinning reel is designed to let line peel off in coils, and if those coils aren't loaded correctly, you're setting yourself up for a world of hurt.
Why Proper Spooling Matters for Walleye Fishing
Imagine this scenario: you're out on Lake Sakakawea, the wind is just right, and you spot a promising break where you know walleye are holding. You make a cast, and instead of your lure sailing smoothly, it plops a few yards out, or worse, tangles into a mess at your rod tip. That's a classic sign of an improperly spooled reel. Line twist, memory, and poor casting distance are all direct consequences of not taking the time to spool your reel correctly.
For walleye anglers, precision and feel are paramount. Walleye can be finicky biters, and a well-spooled reel ensures maximum sensitivity, letting you feel those subtle "thunks" or light taps that indicate a walleye has picked up your bait. It also means consistent, long casts, which are often necessary to cover productive walleye structures, whether you're targeting shallow reefs or deep humps. A reel that's fighting itself with twisted line or snags will hinder your ability to present your lure naturally, reducing your chances of a bite and turning what should be a relaxing day into a test of patience.
Selecting the Right Line for North Dakota Walleye
Choosing the right fishing line is almost as important as proper spooling, and it really depends on your preferred walleye technique and the conditions you're fishing in. You've got a few main types of line to consider: monofilament, fluorocarbon, and braided line. Each has its pros and cons, and many North Dakota anglers use a combination, often with a braided main line and a fluorocarbon leader.
Monofilament (mono) line is a classic for a reason. It's affordable, easy to tie, and has good stretch, which can be forgiving when a walleye makes a sudden run. However, its stretch can also reduce sensitivity, making it harder to feel those light bites in deep water. It also tends to have more memory, meaning it holds the shape of the spool, leading to more coiling and potential tangles, especially with lighter line weights. Many beginners start with mono, and for certain presentations like slip bobber fishing, it can still be a great choice.
Fluorocarbon is nearly invisible underwater, which is a huge advantage when targeting wary walleye in clear North Dakota waters. It has less stretch than mono, offering better sensitivity, but it can be a bit stiffer and more challenging to tie knots with. It's often used as a leader material for its invisibility and abrasion resistance. Braided line, on the other hand, has virtually no stretch, providing incredible sensitivity and strength for its diameter. This makes it fantastic for feeling subtle bites and setting hooks with authority, even from a distance. Its thin diameter also allows for longer casts. However, it's highly visible, which is why many anglers pair it with a North Dakota Walleye Fishing Techniques fluorocarbon leader. When you're buying line, whether from a local tackle shop or online through Amazon or Bass Pro Shops, always consider the strengths and weaknesses for your specific walleye pursuit.
Step-by-Step Guide to Spooling Your Spinning Reel
Now, let's get down to business. Properly spooling a spinning reel isn't difficult, but it requires a bit of attention to detail to avoid those pesky issues we talked about earlier.
Preparing Your Reel and Line
Before you even think about unwrapping that new spool of line, take a moment to prep your gear. First, if your reel already has old line on it, strip it off completely. Old line retains memory, can be weakened by UV exposure, and will only cause problems with your new line. Give your reel's spool a quick wipe-down to ensure no grit or grime is present that could abrade your new line. Next, check your bail arm. Make sure it opens and closes smoothly and snaps securely into place. This small detail is often overlooked but crucial for preventing tangles and ensuring proper line flow.
Now, for the new line. The way you position the filler spool of line is absolutely critical. For spinning reels, the line should come off the filler spool in the same direction it will go onto your reel's spool. This is usually with the label facing up, allowing the line to unroll flat without introducing twist. A simple trick is to lay the filler spool flat on the floor, or have someone hold it for you. If you see coils jumping off the filler spool, try flipping it over. Some anglers will even place a pencil through the center of the filler spool and have a friend hold it to allow for controlled rotation, reducing twist. This step, while seemingly minor, prevents a significant amount of line twist before you even start reeling.
The Arbor Knot and Backing
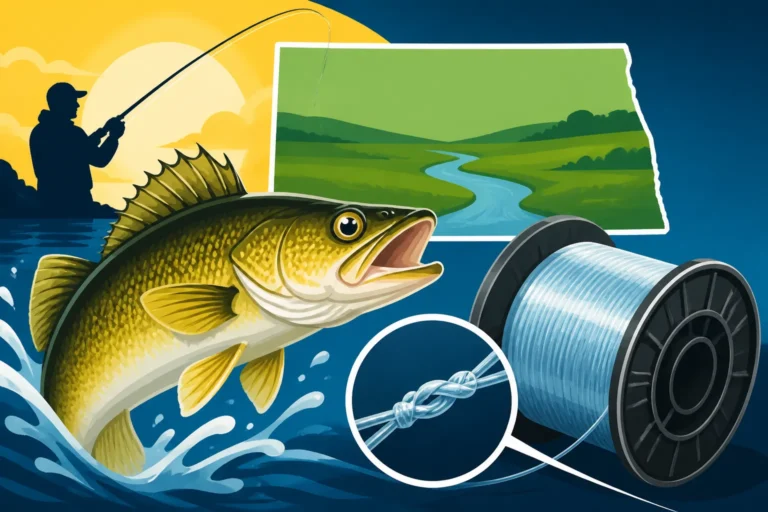
The arbor knot is your starting point for securing the line to the reel's spool. It’s a simple, reliable knot that ensures your line doesn’t slip around on the smooth surface of the spool.
Here’s how to tie it:
- Wrap the line around the reel's arbor (the core of the spool).
- Tie an overhand knot in the tag end around the main line.
- Tie a second overhand knot in just the tag end, about an inch from the first knot.
- Pull the main line to tighten the first knot, then pull the tag end to cinch the second knot against the first.
- Trim the excess tag end, leaving a small bit. This creates a secure loop that won't slip under pressure.
Now, about backing: backing is typically used with braided line. Since braided line is often more expensive and very thin, many anglers will spool a layer of inexpensive monofilament line onto their reel first, then attach their braid to that. This accomplishes a few things: it fills the spool more economically, prevents the braid from slipping on the slick arbor of the reel, and provides a cushion if a fish makes a really long run that goes past your main braided line. If you're using braid, put on about 50-75 yards of mono backing first, using the arbor knot to attach it to the reel, and then a strong knot like a double uni knot or an Albright knot to connect the mono to your braided main line. If you're just using monofilament or fluorocarbon as your main line, you can simply tie the arbor knot directly to the reel's arbor and proceed.
Filling the Spool Correctly
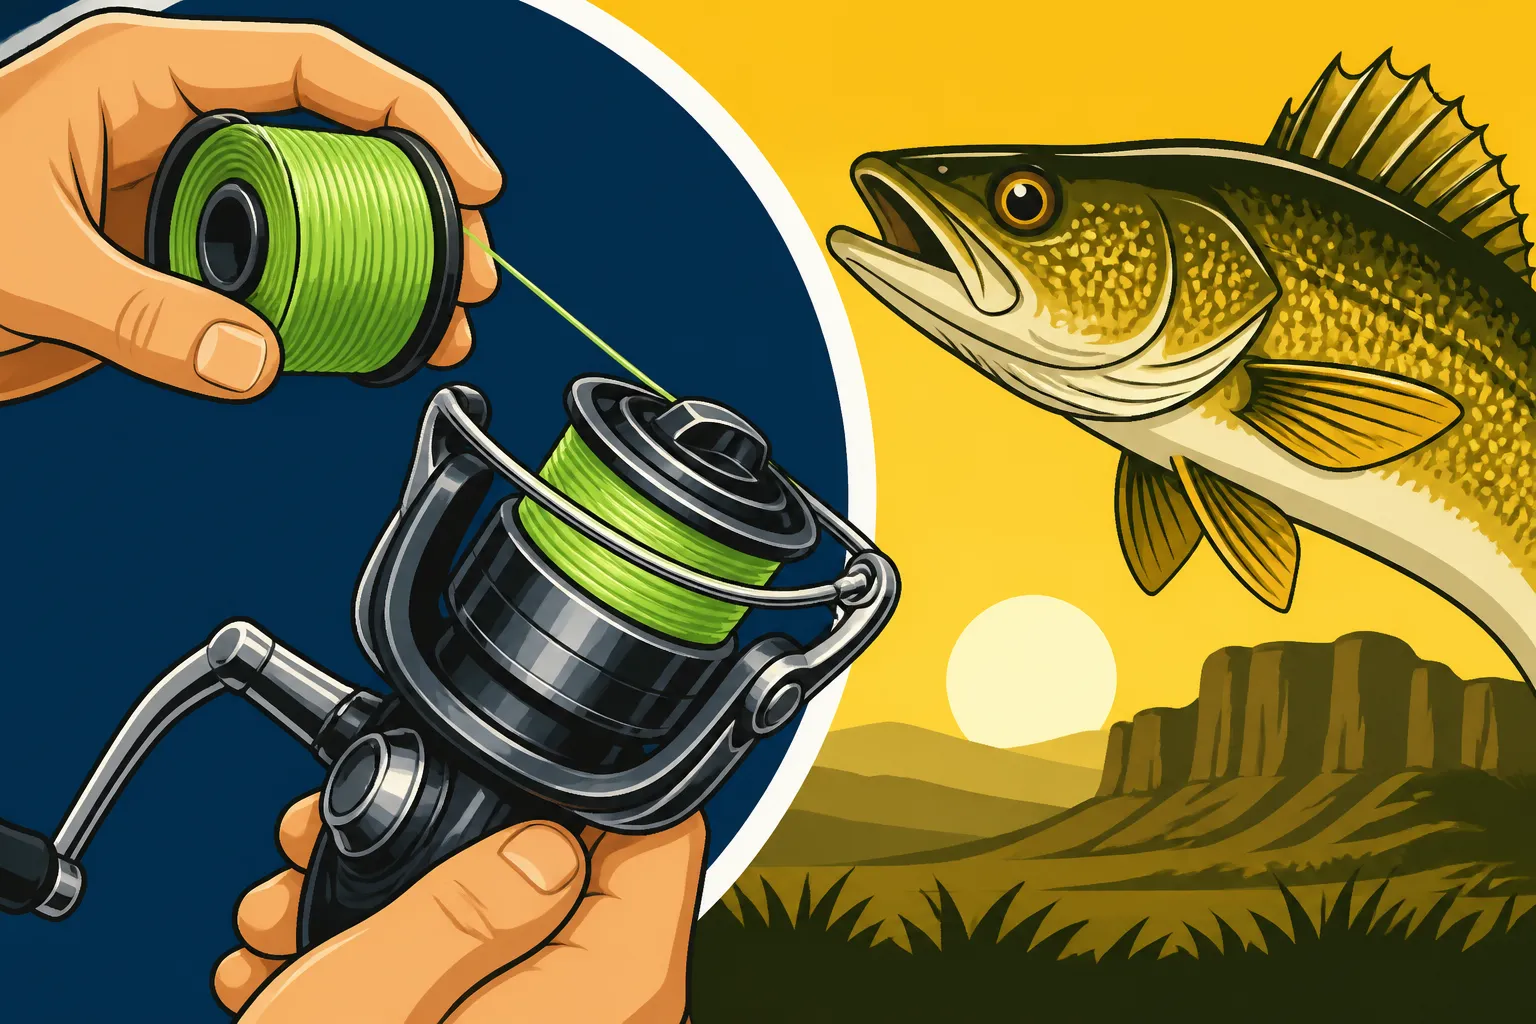
This is the main event! Once your arbor knot is secure and your backing (if any) is attached, it’s time to fill the spool. Close the bail on your spinning reel. Hold your rod with the reel attached, and apply light tension to the line coming from the filler spool with your non-reeling hand. This tension is crucial for laying the line tightly and evenly on the spool, preventing loose wraps that can lead to tangles later.
Begin to reel slowly and steadily. Pay close attention to how the line is laying on your reel's spool. It should be flat and consistent, not piling up on one side or leaving gaps. As you reel, occasionally stop and check for line twist. If the line coming off the filler spool starts to twist or create little "pigtails," flip the filler spool over. This is a common issue with new spools of line that might have been wound tightly in one direction. You'll literally see the line coiling up between the filler spool and your reel. A quick flip usually corrects it. Keep reeling with consistent tension until your spool is about 1/8 to 1/16 of an inch from the lip of the spool. This is the sweet spot. Filling it too much will result in line peeling off in big loops and creating wind knots; too little, and you'll sacrifice casting distance. You can often find line for this at a good price, especially when looking at brands like Berkley or P-Line available at Bass Pro Shops or even a quick order from Amazon.
Tying on Your Leader
For many North Dakota walleye techniques, particularly when using braided main line, a fluorocarbon leader is a game-changer. It provides that invisibility needed in clear water and offers better abrasion resistance against rocks, zebra mussels, or a walleye's toothy mouth. A good length for a leader is typically 3 to 6 feet, allowing for enough stealth and shock absorption without being too long to manage.
The knot used to connect your main line to your leader is incredibly important, as it will pass through your rod guides repeatedly. The FG knot is considered one of the strongest and most streamlined knots for connecting braid to fluorocarbon, but it can be tricky to learn. The Alberto knot or a modified Albright knot are also excellent choices and often easier to master. If you're using a monofilament main line, you might not always need a leader, but if conditions are clear or you're fishing around abrasive structure, a fluorocarbon leader is still a smart choice. Practice these knots at home until you can tie them confidently and quickly. You don't want to be fumbling with a complicated knot when the walleye bite turns on!
Common Spooling Mistakes and Troubleshooting
Even with the best intentions, mistakes can happen. Knowing how to identify and fix common spooling problems can save your fishing trip.
Identifying and Preventing Line Twist
Line twist is arguably the most common and annoying issue with spinning reels, and it often stems from how the line is initially spooled or how you fish. If your line is coming off your reel in kinky coils, forming "slinkies," you've got line twist. It reduces casting distance, creates tangles, and generally makes for a miserable fishing experience.
During the spooling process, the main culprit is not matching the orientation of the filler spool to your reel. As mentioned, if the line is twisting as you reel it on, simply flip the filler spool over and continue. Another cause can be a malfunctioning bail roller or a dirty line roller on your reel, which doesn't allow the line to lay flat. Make sure these components are clean and moving freely. Beyond spooling, active fishing can introduce twist. Constantly reeling against a dragging fish, or retrieving lures that spin excessively (like some spoons or inline spinners without swivels), will twist your line. Always use a high-quality swivel when fishing lures prone to spinning. If you do end up with severe line twist, you can try dragging your line behind your boat without a lure for a few minutes to let the water unspool the twist, or simply strip off and respool a fresh batch. It's much easier to prevent it upfront with careful spooling.
Overfilling vs. Underfilling the Spool
The amount of line you put on your spool might seem like a minor detail, but it profoundly impacts your casting performance and reduces headaches.
Overfilling: This is probably the most common mistake. When your line is piled too high, past the lip of the spool, the consequences are immediate and frustrating. Every time you open the bail and cast, multiple loops of line will jump off the spool simultaneously, resulting in a horrible bird's nest or "wind knot" around your guides. You'll spend more time untangling than fishing. The sound of that line slapping against the rod guides as it flies off the spool is a clear indicator that you've got too much line. The solution is simple: cut off about 10-20 yards of line until the fill level is correct, typically about an eighth of an inch from the spool lip. Don't be afraid to take a little off!
Underfilling: While less catastrophic than overfilling, underfilling also has its drawbacks. If there isn't enough line on your spool, you won't get optimal casting distance. The line has to "climb" a steeper angle over the spool lip, creating more friction and drag, which shortens your cast. It can also cause the line to dig into itself on the spool, especially with braided lines, leading to snags during a retrieve. The goal is to maximize casting distance and smooth line flow without inducing tangles. Aim for that sweet spot of 1/8 inch below the lip, and you'll find your casts are longer and smoother. You can buy bulk spools of line from retailers like Bass Pro Shops, making it economical to keep your reels properly filled.
When to Respool Your Line
Fishing line isn't forever. Over time, all types of line degrade due to exposure to UV light, abrasion from contact with structure, and the stresses of casting and fighting fish. Knowing when to respool is crucial for maintaining performance and preventing heartbreak when you hook into that trophy walleye.
For monofilament and fluorocarbon lines, a good rule of thumb is to respool your main fishing line at least once a year, or more frequently if you're fishing heavily. You'll notice mono becoming stiff, kinky, and losing its transparency. Fluorocarbon can also become brittle and show signs of fraying. North Dakota Fishing Season Calendar dictates when you might fish most, so consider refreshing your line before prime seasons. Braided line, being more durable, can last significantly longer, sometimes several years. However, the first 50-100 feet, which sees the most action, can still fray or weaken. Many savvy anglers will simply cut off the worn section of braid and re-tie their leader, or even just reverse the braid on the spool to expose the fresh, unused line from the bottom. Regardless of line type, if you notice significant fraying, excessive memory, or sudden unexplained line breaks, it's definitely time to get fresh line on your reel. Don't let old line be the reason you lose a fish of a lifetime.
Advanced Tips for North Dakota Walleye Anglers
Beyond the basics, a few extra considerations can really dial in your spinning reel setup for chasing walleye across North Dakota's diverse fisheries.
Using a Line Spooling Station
While having a friend hold a pencil through your line spool works in a pinch, if you find yourself frequently respooling multiple reels or want a truly consistent and twist-free experience, a dedicated line spooling station can be a worthwhile investment. These devices hold your filler spool securely and often have adjustable tensioners, allowing you to load line onto your reel with uniform pressure and without introducing any twist.
There are various models available, from simple tabletop clamps to more elaborate setups that mimic how professional tackle shops spool reels. Brands like Berkley and Piscifun offer affordable options that can be found at retailers like Bass Pro Shops or online platforms such as Amazon. Using a spooling station can save you time, reduce frustration, and ensure your line is laid on perfectly every single time, contributing to longer casts and fewer tangles, which is invaluable when you're targeting widespread walleye on massive bodies of water like Lake Sakakawea Fishing Guide for North Dakota Anglers. It's an upgrade that pays dividends in fishing enjoyment.
Seasonal Line Considerations
North Dakota's fishing seasons offer a wide range of conditions, and smart anglers adapt their line choice accordingly. What works well for open water might not be ideal for ice fishing, and even within open water, spring and fall present different challenges.
During the open water season, especially in spring and fall when walleye are often shallower or actively feeding, many anglers opt for a braid-to-fluoro leader setup for maximum sensitivity and strength. The braid helps detect those subtle bites in colder water, while the fluoro offers stealth. In the heat of summer, when walleye might be suspended or deeper, the low-stretch of braid is still a top choice for feeling those deep water strikes. For specific techniques like trolling with crankbaits on Missouri River Fishing Guide, a longer monofilament leader can provide additional stretch, preventing hooks from tearing out of a walleye's mouth during aggressive strikes.
When ice fishing for walleye, the situation changes. The short rods and direct vertical presentation mean less line is out, so visibility isn't as critical for the main line. Many ice anglers stick with fluorocarbon or specialized low-stretch mono for their main lines directly onto their ice reels, as it's less prone to freezing onto the spool than braid and offers excellent sensitivity in cold water. However, some still opt for thin braid with a fluoro leader for the ultimate feel for those light-biting walleye under the ice. North Dakota Ice Fishing Rules also often have implications for the gear you use, including line. The key is to be flexible and consider the conditions and techniques you'll be employing.
Practice Makes Perfect
Like any skill in fishing, spooling a reel takes practice. Don't be discouraged if your first attempt isn't flawless. With each reel you spool, you'll get a better feel for the right tension, how the line should lay, and how to identify and prevent twist. It’s a foundational skill that will serve you well, whether you’re casting for North Dakota Northern Pike Fishing Guide in a slough, jigging for North Dakota Yellow Perch Fishing Guide on Devils Lake, or chasing trophy walleye on Lake Sakakawea. A properly spooled reel is a joy to fish with, enhancing every cast and retrieve, and ultimately, contributing to more successful days on the water.
Disclaimer
This article is for general informational purposes only and does not constitute professional advice. Laws, prices and regulations vary by location and change over time. Consult a qualified professional for guidance on your specific situation.