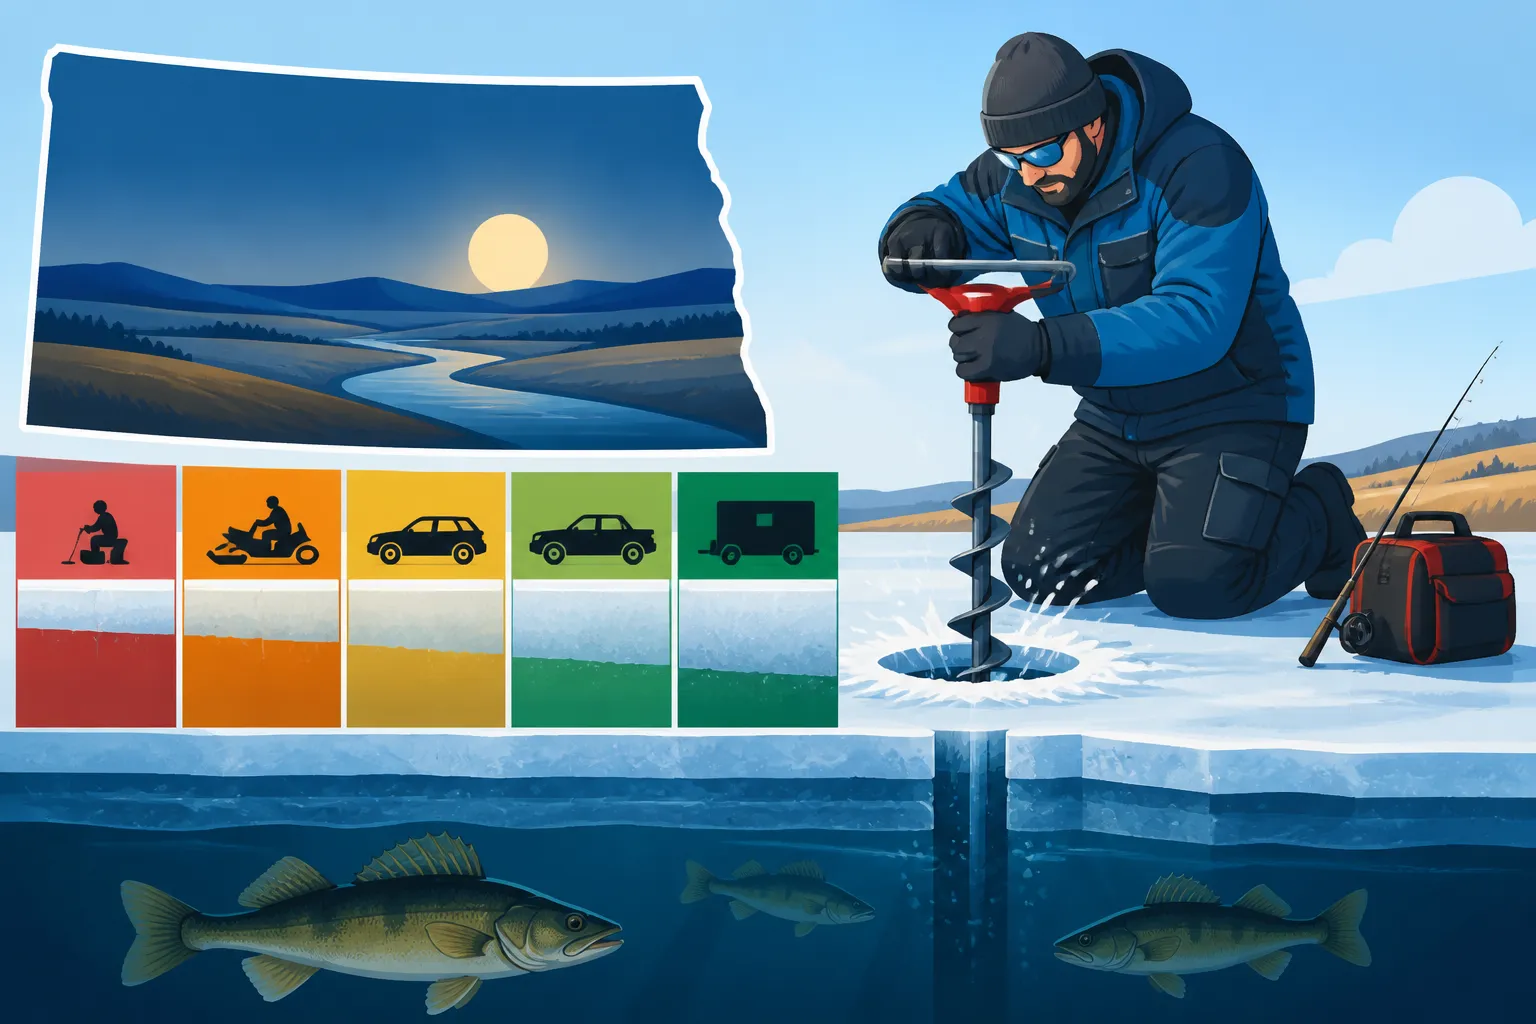
Drilling Safe Ice Thickness Guide
There's a unique thrill that comes with stepping onto a frozen North Dakota lake, knowing that beneath your feet, a whole world of angling adventure awaits. But let's be honest, that thrill is often mixed with a healthy dose of anxiety. How thick is this ice? Is it safe to bring the ATV out today? The unpredictable nature of our winters, with their sudden thaws and heavy snowfalls, makes trusting the ice a constant challenge. This guide is here to cut through the uncertainty, offering you a comprehensive look at how to safely gauge ice thickness and navigate the frozen landscape, so you can focus on reeling in those walleye and perch, not worrying about what's underneath.
Understanding North Dakota Ice Conditions
Before you even think about drilling that first hole, it's crucial to understand that ice is not created equal. It's a living, breathing, and constantly changing entity, especially in a state like North Dakota where Mother Nature loves to keep us on our toes.
The Variability of Ice Formation
One day you might have solid, clear ice, and the next, a warm spell or heavy snow could completely change its integrity. There are so many factors that play into how ice forms and how strong it becomes. Think about it: a sustained stretch of brutally cold, still days with no snow? That's prime conditions for thick, reliable ice. But then a blizzard rolls through, blanketing the lake in a foot of snow. That snow acts like an insulating blanket, slowing down further ice growth significantly. It can even melt and refreeze, forming layers of weaker, milky ice.
Beyond temperature and snow, wind can play a huge role. Strong winds during the initial freeze-up can create uneven ice, piling it up in some spots and leaving open water or thin patches in others. And let's not forget about currents. Places where water flows, like river channels, inlets, outlets, or even underwater springs, will almost always have thinner or more unpredictable ice, even when the rest of the lake seems solid. You might think you're on a uniformly frozen surface, but underground springs or culverts can create treacherous pockets of thin ice that are invisible from above. Always be aware of the whole environment, not just the spot you're standing on.
Types of Ice and Their Strength
Not all ice is equally strong, and knowing the difference can literally be a lifesaver. This isn't just about thickness; it's about the quality of the ice itself.
The gold standard is clear, blue ice. This is formed during prolonged cold snaps with minimal snow. It's dense, hard, and incredibly strong because it freezes uniformly. This is the kind of ice you want to see when you're heading out. For a given thickness, clear blue ice is by far the most dependable. When you're drilling a test hole and see that beautiful, translucent blue, you know you're likely in a good spot.
Then there's white or milky ice, often called snow ice or slush ice. This forms when snow falls on thin ice, then melts (perhaps from a brief warm-up or simply heat from the water below) and refreezes, incorporating air pockets. This ice is much weaker and more porous than clear blue ice. You might have several inches of white ice, but it won't hold the same weight as an equal amount of clear ice. Sometimes, several inches of snow ice might only have the strength of half its thickness in clear ice. It's often crumbly when drilled and indicates less reliable conditions.
Finally, you might encounter grey or decaying ice. This is ice that's starting to melt, either from above (sunlight) or below (warm water, currents). It indicates rapidly deteriorating conditions and should be avoided at all costs. This is often seen during the spring thaw or after an extended warm spell. It loses its structural integrity and can become dangerously unpredictable very quickly. Always look for these visual cues as part of your overall North Dakota Ice Fishing Rules safety plan.
Minimum Safe Ice Thickness Guidelines
When it comes to ice fishing, the phrase "better safe than sorry" isn't just a cliché; it's a mantra. Guessing the ice thickness is a recipe for disaster. The North Dakota Game and Fish Department (NDGFD) provides general guidelines, but remember, these are minimums, and conditions can vary widely.
Pedestrian and Angler Safety
For anyone venturing out onto the ice on foot, with just a bucket and a fishing rod, there are some generally accepted minimums. These are critical for individual safety and even more so when you’re out with a group or pulling a sled full of gear.
- 2 inches or less: Absolutely stay off. This ice is extremely dangerous and cannot support human weight. It's often clear and looks deceptively solid.
- 3 inches: This is typically the bare minimum for one person on foot, and only under ideal, calm conditions. Many seasoned anglers will tell you they prefer at least 4 inches. If you're going to trust 3 inches, ensure it's solid, clear ice and that you're moving slowly and constantly checking.
- 4 inches: This is the widely recommended minimum for a single angler on foot or a small group walking in single file, without heavy equipment. It provides a reasonable margin of safety on clear, blue ice. This thickness allows you to carry your auger, bucket, and maybe a small portable shelter. For new anglers, understanding How Thick Ice Needs to Be for Ice Fishing is the first step in a safe outing.
- 5-7 inches: Ideal for small groups walking, pulling sleds, and using lightweight portable shelters. You can feel much more confident with this thickness. It allows for a small group to spread out a bit more safely.
Here's a handy guide, but always err on the side of caution:
| Activity | Recommended Minimum Clear Ice Thickness |
|---|---|
| Single angler on foot | 4 inches |
| Small group (2-3 people) on foot | 5-7 inches |
| Snowmobile or ATV | 8-12 inches |
| Small car or light pickup (e.g., side-by-side) | 12-15 inches |
| Medium pickup truck (full-size) | 15-18+ inches |
| Heavy pickup / large group of vehicles | 18-24+ inches |
Snowmobiles, ATVs, and Vehicle Access
This is where the risk factor significantly escalates, and a casual approach to ice thickness can have dire consequences. Many North Dakotans love the convenience of bringing out their snowmobiles, ATVs, or even their trucks onto the ice, but this privilege comes with a massive responsibility.
- 8-12 inches: This is the minimum recommended for snowmobiles and ATVs. If you’re riding a snowmobile, remember that speed can be a factor. Hitting a thin spot at high speed can be catastrophic. Always scout ahead, and if you’re pulling a sled behind your ATV, ensure the ice can handle the combined weight. When venturing out on an ATV, remember that Is 4 Inches of Ice Safe for Ice Fishing? might be enough for a single person, but it's definitely not for motorized vehicles.
- 12-15 inches: This is generally considered the minimum for a small car or a very light pickup truck, like a side-by-side. Even at this thickness, drivers should be extremely cautious, maintaining slow speeds, and avoiding parking too close together.
- 15-18+ inches: For medium-sized pickup trucks, this range is typically recommended. When driving a full-size pickup onto the ice, you need substantial, consistent thickness. Always consider the weight of your passengers, gear, and fuel.
- 18-24+ inches: If you're planning to bring out a heavy pickup truck or multiple vehicles, you need truly exceptional ice conditions. At this thickness, you're looking at prime, stable ice that has been consistently cold for a long period. Even then, exercise extreme caution and distribute vehicles widely.
Remember that vehicles create significant stress on the ice. The weight is concentrated, and vibrations from engines can further weaken it. Always enter and exit the ice at known, safe access points, typically marked by the local community or game and fish personnel. Avoid parking vehicles too close together, which can create a "load zone" effect. And please, for the love of all that is holy, check the ice constantly, even if others have driven out. Conditions can change in a matter of hours or even feet.
Essential Tools and Techniques for Checking Ice Thickness
You wouldn't go deer hunting without a rifle, and you shouldn't go ice fishing without the proper tools to check the ice. Your safety, and the safety of those you're with, depends on it.
Manual Measurement Tools
While technology offers some amazing tools, the most reliable way to check ice thickness still comes down to good old-fashioned manual methods. You need to physically break through the ice and measure it.
First and foremost, an ice auger is your best friend. Whether you prefer a hand auger, a powerful gas auger, or a quiet electric model (which you can find a wide selection of on Amazon), you need something that can drill a hole quickly and efficiently. The auger allows you to get a clean cross-section of the ice, letting you see its layers and quality. Many anglers now opt for electric augers for their convenience and quiet operation, perfect for those early morning trips or when fishing near sleeping companions in an ice house.
A good ice spud or chisel is another invaluable tool, especially during early or late ice. This heavy metal rod with a sharp chisel point is perfect for testing the ice ahead of you as you walk. You strike the ice firmly; if it breaks through easily in one or two hits, you know it's too thin to proceed safely. It's a proactive way to check the ice before committing your full weight. Always have one handy, especially when exploring new areas or during unpredictable periods like early or late season.
Finally, a simple, retractable tape measure is essential. After you've drilled a hole with your auger, drop the tape measure into the hole, hook it on the bottom edge of the ice, and pull it up to read the thickness. This gives you an accurate, unbiased measurement. Don't eyeball it; measure it. These three tools form the backbone of your ice safety kit. Understanding Ice Fishing Auger Techniques is crucial for safe and efficient hole drilling.
Best Practices for Drilling Test Holes
Knowing what tools to use is only half the battle; knowing how and where to use them is just as important. Drilling test holes isn't a one-and-done task; it's an ongoing process.
As you first venture onto the ice, especially during early or late season, begin drilling test holes as soon as you are beyond the shoreline. Drill one hole, measure, then walk 15-20 feet, drill another, measure again. Continue this pattern. The idea is to create a "path" of safety, ensuring the ice you're walking on is consistent and adequate. This technique is particularly important when you’re assessing Early Ice Fishing Safety Tips or navigating unfamiliar bodies of water.
Pay special attention to suspected weak spots. These include areas around docks, structures that absorb sunlight, points, narrows, and any visible cracks or pressure ridges. Ice near shore is often thinner and more unstable than ice further out, especially where brush or rocks protrude. Always avoid areas with visible current or open water, even if they seem small.
The most critical advice? Drill frequently and consistently. Don't just drill a hole when you step onto the ice and assume it's the same 100 yards later. Ice thickness can change drastically in a short distance. If you're moving a significant distance, especially across different parts of a lake, stop periodically and drill new test holes. If you're driving a vehicle, drill test holes every 50-100 yards, checking for consistency. It might seem tedious, but those extra few minutes can prevent a life-threatening incident. The more data points you have, the better understanding you'll have of the ice beneath you.
Recognizing and Avoiding Hazardous Ice Conditions
Even with all the right tools and techniques, you need to be a keen observer of your environment. The ice itself often gives clues about its stability – if you know what to look for.
Visual Cues of Unsafe Ice
Your eyes are your first line of defense against dangerous ice. Train yourself to spot the subtle (and not-so-subtle) warnings the ice provides.
One of the most obvious red flags is open water or slushy areas. Even a small patch of open water indicates extreme thinness nearby. Slush often means the ice is degrading rapidly, or that there's excessive water on top that hasn't frozen solid. Cracks and pressure ridges are also significant warning signs. Cracks can be natural occurrences due to ice expansion and contraction, but a large, jagged crack could indicate unstable ice, or a point where a large sheet of ice has shifted, creating significant weakness. Pressure ridges are mounds of ice pushed up by thermal expansion; while they might appear thick, the ice around them can be heavily fractured and unsafe.
Dark spots or discolored ice are another critical visual cue. Where you typically want clear, blue ice, any area that looks grey, black, or even milky white (if it contrasts sharply with surrounding blue ice) is often a sign of weakness. Grey or black ice indicates that water has seeped into the ice, or that the ice is very thin and you're seeing the water beneath it. It lacks structural integrity and should be avoided. Conversely, light white or milky ice, as discussed earlier, indicates snow ice, which is weaker than clear ice. If you see ice that is inconsistent in color or texture, proceed with extreme caution or, better yet, find another spot.
Factors that Weaken Ice Beyond Temperature
While temperature is a primary driver of ice formation, many other environmental factors can severely compromise its strength, even if the thermometer says it's cold enough.
Inlets, outlets, and currents are notorious for creating thin ice, regardless of the overall lake conditions. Rivers flowing into or out of a lake, areas near dams (like parts of the Missouri River below Garrison Dam), or even small culverts can maintain open water or dangerously thin ice due to constant water movement. The current prevents stable ice from forming, or erodes it from below. Always give these areas a wide berth.
Underground springs are another hidden danger. These pockets of warmer water can create localized thin spots that are impossible to see from the surface. Unless you have local knowledge, assume any unexplained open water or persistently thin ice might be due to a spring. Decaying vegetation can also cause issues. As plants decompose under the ice, they release gases and generate a small amount of heat, which can weaken the ice directly above them. These spots often appear darker.
Finally, heavy snow cover is a double-edged sword. While it keeps the underlying ice cold, it also insulates it, preventing further thickening. Even worse, if snow falls on thinner ice, its weight can depress the ice, causing water to seep up through cracks and create a heavy layer of slush. This "slush sandwich" can hide treacherous conditions and significantly slow the formation of strong, clear ice. A deep snowpack also makes it harder to identify visual cues of thin ice. Always factor in recent snowfall when assessing conditions, and remember that Setting Up an Ice Fishing Shelter can be challenging in deep snow, sometimes requiring you to clear an area.
What to Do in an Ice Emergency
Despite all precautions, accidents can happen. Knowing what to do if you or someone else falls through the ice is crucial. Preparedness is your best defense in an emergency situation.
If You Fall Through the Ice
The first, and hardest, thing to do is stay calm. Panicking will only make the situation worse, drain your energy, and make clear thinking impossible. The initial shock of the cold water will be overwhelming, but fight the urge to gasp or thrash wildly.
If you have ice picks (which you should always carry around your neck or in an easily accessible pocket when ice fishing), dig them into the ice in front of you. Kick your feet vigorously, trying to get your body into a horizontal position, similar to swimming. Use your ice picks to pull yourself forward onto the solid ice, distributing your weight as much as possible. Once you're out, don't stand up! Roll away from the hole, spreading your weight, until you reach truly solid ice, then crawl back to shore. This is why What to Wear Ice Fishing in North Dakota is so important; insulated, buoyant clothing can buy you critical time.
If you don't have ice picks, try to break the ice edge with your forearms as far in front of you as possible. Again, kick your feet and try to slide your body out horizontally. The key is to get as much of your body onto the ice as possible to distribute your weight and prevent further breaking. Self-rescue is incredibly difficult in cold water, emphasizing why prevention and carrying appropriate safety gear are paramount.
Assisting Others and Calling for Help
Your instinct might be to rush to a person who has fallen through, but this is incredibly dangerous. The ice that couldn't support them likely won't support you. Remember the "Reach, Throw, Row, Go" principle:
- Reach: If they are close to the edge and you can reach them from solid ground using a branch, pole, or even your fishing rod, do so carefully.
- Throw: If they are further out, throw them a rescue rope, a spare tire, a life jacket, or anything that floats and they can grab onto. Lie flat on the ice yourself to distribute your weight while throwing. You can find quality rescue ropes and throw bags on Amazon for your ice safety kit.
- Row: If you have access to a boat, kayak, or even a large, sturdy ice fishing sled, push it ahead of you to reach them, staying off the thin ice yourself.
- Go: This is the absolute last resort and only if you are trained in ice rescue, wearing a full cold-water immersion suit, and have backup. Never attempt to "go" out to them unless you have no other choice and are properly equipped and trained.
Immediately call for help. In North Dakota, dial 911 for any ice emergency. Provide your exact location, the number of people involved, and the nature of the emergency. The sooner professional rescuers are on the scene, the better the chances of a positive outcome. Make sure someone goes to meet the emergency responders at the nearest access point to guide them to the location. Always carry a fully charged cell phone in a waterproof bag, even when you're just planning to spend a few hours on Best Ice Fishing Lakes in North Dakota.
North Dakota Specific Ice Fishing Regulations and Resources
North Dakota is a fantastic state for ice fishing, but like any responsible angler, you need to be aware of the specific rules and resources available to ensure a safe and legal outing. It's not just about ice thickness, but also about knowing the local laws.
Understanding NDGFD Advisories
The North Dakota Game and Fish Department (NDGFD) is your go-to source for official information. They regularly issue ice condition advisories and updates throughout the winter season. These advisories are often based on reports from Game Wardens, local bait shops, and even fellow anglers. Checking the NDGFD website, their social media channels, or calling local offices before you head out is a smart move. These reports can provide crucial, localized information on ice thickness, areas to avoid, and any recent changes in conditions that might not be obvious.
Beyond just ice conditions, the NDGFD website is where you'll find the complete North Dakota Fishing License Guide and all pertinent regulations, including specifics for different bodies of water or species. Local knowledge is invaluable too. Stop at bait shops in towns near your chosen lake; these folks are often on the ice daily and have the most up-to-date, on-the-ground information about where the bite is, and more importantly, where the safe ice is. They'll tell you if there's an iffy spot to avoid or if a recent warm spell has degraded conditions. Don't be shy; ask around!
Ice House and Shelter Regulations
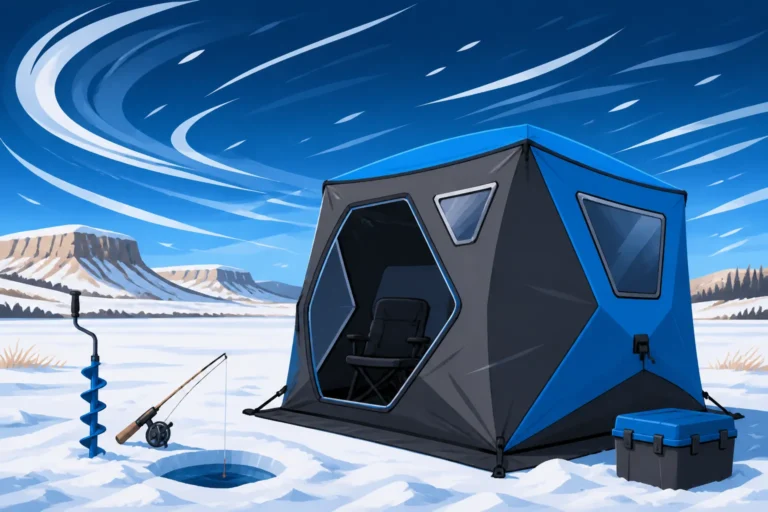
Bringing out an ice house or portable shelter is a common practice in North Dakota, offering refuge from the biting wind and bitter cold. However, there are specific regulations you need to adhere to, especially regarding their placement and removal.
All permanent ice houses (shacks that are not easily portable) and even portable shelters left unattended overnight must be marked with the owner's name and address or vehicle license number. This helps the Game and Fish Department identify owners in case of an issue or if the shelter is abandoned. This is particularly important on North Dakota Ice Fishing License Requirements, as proper identification is a key part of responsible angling.
The most critical regulation, though, concerns ice house removal dates. In North Dakota, all ice fishing shelters must be removed from public waters by March 15th each year. This is a hard deadline, regardless of ice conditions. Why? Because after this date, the ice can deteriorate rapidly and unpredictably, making removal hazardous and creating environmental hazards if shelters fall through. The NDGFD strictly enforces this rule, and penalties can include fines and cleanup costs if you leave your shelter behind. You can find more detailed information on this topic in our dedicated guide: When Must Ice Shelters Be Removed From North Dakota Lakes?
Always plan ahead for removal, especially during late season. A beautiful spring day could turn into a blizzard overnight, making it impossible to retrieve your house. It’s always better to remove it early rather than risk it falling through or facing fines. Also, be mindful of spacing rules; don't set up your shelter so close to another that it obstructs access or creates a safety hazard. Respecting these regulations ensures a positive and safe experience for everyone on the ice. Our guide on Late Ice Fishing Safety Tips offers further insights into navigating the end of the ice season.
Disclaimer
The information provided in this guide is for general informational purposes only and is based on common recommendations and practices. Ice conditions are highly variable and can change rapidly. Always exercise extreme caution and use your best judgment when venturing onto the ice. The author and publisher are not responsible for any accidents or injuries sustained while ice fishing. Always check local regulations and conditions with the North Dakota Game and Fish Department before heading out.