How to Set Up an Ice Fishing Shelter Fast
There's nothing quite like the excitement of hitting your favorite North Dakota lake for a day of ice fishing, but that enthusiasm can quickly turn to frustration when you're battling the wind, biting cold, or fading daylight just to get your shelter popped up. Wrestling with frozen fabric and stubborn poles can waste precious fishing time and leave you chilled before you even drop a line. This comprehensive guide is here to walk you through the fastest, most efficient ways to set up your ice fishing shelter, ensuring you spend less time struggling and more time reeling in those prairie giants.
Why Speed Matters When Setting Up Your Ice Shelter
Anyone who's spent a few hours on a North Dakota lake in the dead of winter knows that conditions can change in an instant. A calm morning can give way to howling winds and dropping temperatures before you've even had your first bite. That's why getting your shelter up quickly isn't just about convenience; it's about comfort, safety, and maximizing your time on the ice.
Battling the Elements
Imagine this: you've driven out onto the ice, found your perfect spot, and the wind has suddenly picked up, whipping snow and ice chips across your face. Now, picture yourself trying to unfurl a canvas ice shelter, the fabric flapping wildly, the poles feeling stiff and frozen to the touch. This isn't just uncomfortable; it's genuinely miserable. The faster you can get your shelter erected and sealed against the wind, the less exposed you'll be to the elements. Reducing this exposure directly translates to a more enjoyable and safer outing. Even on a seemingly calm day, the ambient air temperature combined with any slight breeze can quickly sap your body heat, making dexterity a real challenge. A swift setup helps you beat the chill, giving you a warm sanctuary to retreat to.
Maximizing Fishing Time
Let's be honest, we go ice fishing to fish, not to fight with gear. Every minute spent struggling with a shelter is a minute your line isn't in the water. If you've traveled a long distance to hit a specific bite window – perhaps the early morning walleye bite on Lake Sakakawea or the late afternoon perch frenzy on Devils Lake – those minutes are incredibly valuable. A quick setup means you can drill your holes, get your lines down, and start fishing almost immediately after arriving. There's nothing worse than seeing other anglers already pulling fish through the ice while you're still wrestling with a tent zipper that won't budge. By streamlining your setup process, you ensure that you're always ahead of the game, ready to capitalize on those prime fishing opportunities.
Safety Considerations
Beyond comfort, rapid shelter deployment is a significant safety factor. Prolonged exposure to sub-zero temperatures and wind can lead to serious risks like frostbite and hypothermia. When your fingers are numb and your core temperature is dropping, your judgment can become impaired, making simple tasks difficult and increasing the risk of accidents. Having a warm, windproof shelter ready in minutes provides a critical refuge. This is especially true when fishing alone or in remote locations where help might not be readily available. Knowing how to set up your shelter quickly is a fundamental part of Early Ice Fishing Safety Tips and Late Ice Fishing Safety Tips, ensuring you have a safe haven should conditions deteriorate or an emergency arise.
Choosing the Right Shelter for Fast Setup
Not all ice shelters are created equal when it comes to speed and ease of deployment. The design of your shelter plays a huge role in how quickly you can get it ready for fishing. Understanding the differences will help you choose the best option for your style of fishing and local conditions.
Hub-Style Shelters: The Speed Demon
Hub-style shelters, often called "pop-up" shelters, are incredibly popular for a reason: their speed. These shelters are essentially fabric cubes with a series of collapsible fiberglass or aluminum poles that radiate from central hubs. When you "pop" the hubs, the walls extend outwards, creating a rigid structure. They are designed for quick deployment, often taking just a few minutes once you get the hang of it.
Pros:
- Rapid Deployment: With practice, many anglers can have a hub shelter fully extended in under two minutes.
- Spacious Interiors: For their packed size, hub shelters offer a surprising amount of interior space, making them excellent for groups or anglers who like to spread out.
- Lightweight and Portable: They fold down into a relatively compact bag, making them easy to transport in a sled or even on your back for shorter distances.
- Cost-Effective: Generally more affordable than comparable flip-over models.
Cons:
- Wind Vulnerability During Setup: While incredibly sturdy once anchored, a hub shelter can be a real kite in strong winds before it's anchored. This requires a specific strategy and often an extra set of hands in blustery conditions.
- Anchoring Required: Unlike flip-overs, hub shelters rely entirely on ice anchors to stay put. If you forget your anchors or your drill dies, you're in trouble.
Many top brands offer excellent hub shelters. Look for models with reinforced corners and heavy-duty zippers. You can find a vast selection of these shelters on retailers like Amazon, offering various sizes and features to fit your needs. For windy North Dakota days, it's wise to invest in Best Portable Ice Shelters for Wind.
Flip-Over Shelters: The Integrated Solution
Flip-over shelters are the workhorses of the ice fishing world, especially favored by anglers who like to move frequently or have an all-in-one setup. These shelters are built onto a durable sled base, which also serves as your transport system for gear, and often includes built-in seating. The fabric cover is permanently attached to a frame that "flips" over to create the shelter.
Pros:
- Extremely Fast Deployment: Unlatch, pull the frame over, lock in place – often less than a minute. They are arguably the quickest to deploy for a single angler.
- Integrated Design: Sled, shelter, and seats are all one unit, making transport and setup seamless. No fumbling for separate pieces.
- Wind Resistant on Setup: Because the sled acts as a base, they are less prone to blowing away during the initial setup compared to hub shelters.
Cons:
- Heavier and Bulkier: The integrated sled makes them heavier and takes up more space in your vehicle or on your utility trailer.
- Less Interior Space for Footprint: The sled base restricts the usable floor space compared to a hub-style shelter of similar dimensions.
- Higher Cost: Generally more expensive due to their integrated design and construction.
If you value instant mobility and an all-in-one system, a flip-over is hard to beat. Check out our guide on Best Flip-Over Ice Shelters for recommendations on models that offer quick deployment and durability.
Permanent or Skid Houses: A Different Beast
While offering the ultimate in comfort and space, permanent or skid houses are not designed for "fast setup." These are typically larger, heavier structures built on skis or frames that are towed onto the ice and left for extended periods, sometimes for the entire season. They require heavy equipment to move and are meant for long-term stays, not rapid daily deployment. We're focusing on portable shelters today, but if you're curious about all types of shelters, you can learn more about general Setting Up an Ice Fishing Shelter.
Pre-Trip Preparation for Lightning-Fast Deployment
The secret to a truly fast shelter setup isn't just about the shelter itself; it's about what you do before you even leave the driveway. A little foresight and organization can shave valuable minutes off your setup time and prevent frustrating delays on the ice.
Organize Your Gear
Imagine you're on the ice, the wind is picking up, and you're fumbling through a disorganized sled, searching for your ice anchors or the drill extension. Not only does this waste time, but it also exposes you to the cold longer. Before every trip, take a few minutes to organize your ice fishing sled or gear bag.
Keep essential setup items like your ice anchor drill adapter, extra drill battery, anchor stakes, and any tools like a small hammer or mallet in an easily accessible compartment or a dedicated small bag. Ensure your portable heater is ready to go, fuel tank full, and igniter working. Have your headlamp charged and within reach, especially if you plan on setting up in low light conditions. The goal is to minimize the amount of time you spend digging around in the cold. A well-organized system allows you to grab what you need without hesitation, keeping your hands warm and your focus on the task at hand. Check out our comprehensive Essential Gear Checklist for North Dakota Fishing for more tips on what to bring.
Practice at Home
This might sound silly, but if you've just bought a new hub shelter or you're new to ice fishing, set it up in your backyard or garage a few times before your first outing. You'll quickly discover the nuances of your specific model – which poles to extend first, how the fabric unfolds, where the anchor points are, and how much force is needed.
Think of it like this: you wouldn't run a marathon without training. Likewise, don't attempt your first "fast setup" under challenging conditions on the ice. Practicing at home allows you to identify any sticky points, learn the correct sequence, and even mark certain poles or hubs for quicker identification. This familiarity builds muscle memory and confidence, which are invaluable when your fingers are cold and the wind is blowing. You'll be surprised how much faster and smoother the process becomes with just a couple of dry runs.
Check for Damage and Missing Parts
Before heading out, give your shelter a thorough once-over. Inspect the poles for any bends or cracks, check the fabric for tears, and make sure all zippers are functioning smoothly. Confirm that you have all the necessary ice anchors and any specific attachment clips or straps for your model. It's a truly deflating experience to drive all the way to Lake Sakakawea, only to discover a crucial tent pole is bent beyond repair or you're missing half your ice anchors.
A quick check can save your day. Repair any minor tears with duct tape or a patch kit, lubricate sticky zippers, and replace any worn-out components. Make sure your drill battery is fully charged for those ice anchors and that your drill adapter is securely in your bag. This simple preventative measure ensures that when you arrive at your fishing spot, your equipment is ready to perform without any unexpected hitches.
Step-by-Step Guide to Rapid Hub-Style Shelter Setup
Hub-style shelters are fantastic for quick deployment once you master a few key steps. The goal is to minimize the time the shelter is exposed to the wind before it's anchored and to get the framework up quickly.
Laying the Foundation
When you pull up to your spot, don't just haphazardly throw your shelter bag out. First, use your auger to drill your fishing holes. This serves two purposes: you confirm your spot is good and clear the snow in the immediate area. Next, think about the wind. Try to orient the shelter so the door is facing downwind, or at least out of the direct path of the strongest gusts. This makes entry and exit more comfortable and prevents wind from tearing through the door zipper.
Carefully remove your hub shelter from its bag. Lay it flat on the cleared ice, spreading out the fabric as much as possible. It might be stiff from the cold, so a gentle stretch can help. Position it so the corners are roughly where you want them to be when fully expanded. If it's a particularly windy day, consider having a buddy hold one side down, or even use a quick, temporary anchor on an upwind corner to prevent it from skittering across the ice. The less your shelter flaps around at this stage, the easier and safer the next steps will be. For detailed guidance, check out How to Anchor an Ice Shelter in Wind.
Popping the Hubs
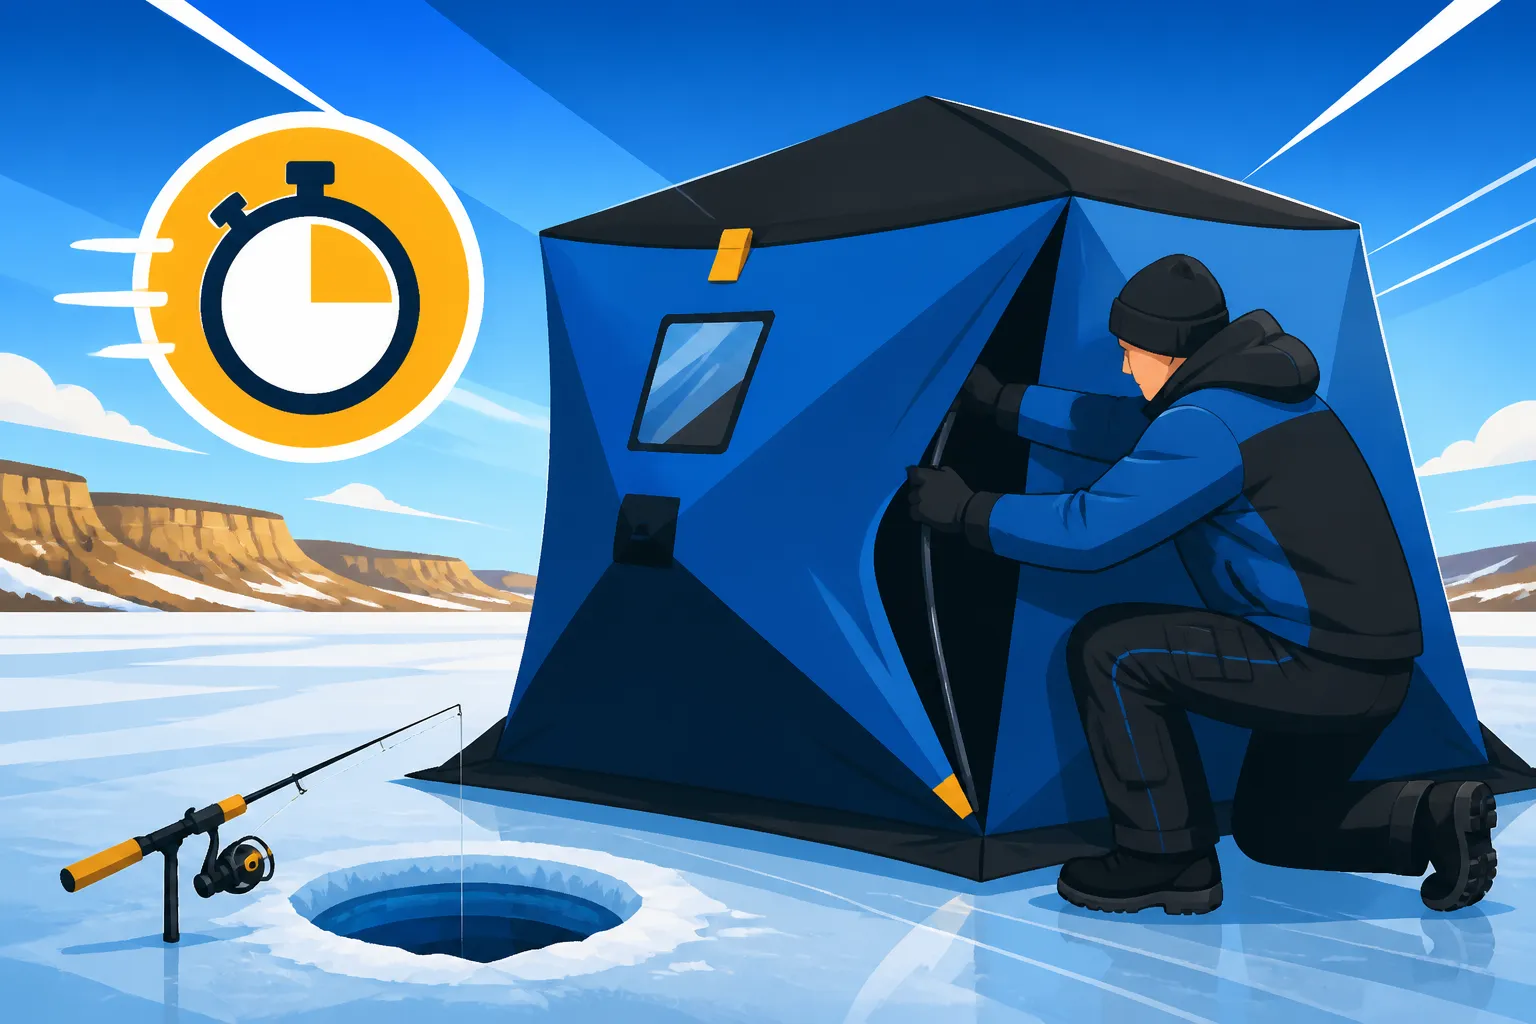
This is where the magic happens. Start with the roof hub. Stand inside the partially expanded shelter or kneel over it, grasping the roof hub handle. Push it upwards and outwards firmly until it locks into place. You'll feel a distinct "pop" or click. Once the roof is up, the shelter will start to take its form.
Next, move to the wall hubs. Work your way around the shelter, pushing each wall hub outwards until it locks. It’s often easiest to extend opposing walls first (e.g., front then back, then left then right) to help balance the tension in the fabric. In extremely cold conditions, the fabric might be stiff and resistant. Don't force it aggressively; instead, apply steady pressure. Sometimes, a gentle shake or wiggle of the pole as you extend it can help overcome any friction. If you're struggling, a buddy can help by gently pulling the fabric outwards from the opposite side. The key is smooth, controlled movements to get all hubs fully extended and locked.
Anchoring for Stability
As soon as the hubs are popped, your shelter will be standing, but it's essentially a giant kite waiting to take flight in the North Dakota wind. This is the most crucial step for safety and stability. Do NOT delay anchoring.
Ideally, you'll have an impact driver or a heavy-duty cordless drill with an ice anchor adapter. This tool is a game-changer for speed. Simply attach your ice anchors to the drill adapter and drive them into the ice at each anchor point, typically at the corners and sometimes mid-panels for larger shelters. Secure the shelter's guy ropes or straps to these anchors.
Recommended Ice Anchor Placement for Hub Shelters
| Shelter Size (Anglers) | Minimum Anchors (Calm) | Recommended Anchors (Windy) | Priority Placement | Notes |
|---|---|---|---|---|
| 1-2 person | 4 | 6 | Corners | Add 2 mid-panel on upwind side if very windy |
| 3-4 person | 6 | 8-10 | Corners + Mid-panel | Focus on upwind and high-stress points |
| 5+ person | 8 | 10-12+ | All anchor points | Use all available points; consider extra guy ropes |
When anchoring, aim to drive the anchors in at a slight angle away from the shelter for maximum holding power. Make sure the straps or ropes are taut, but not excessively so, to prevent over-stressing the fabric. You can find reliable ice anchor drill adapters and anchors on Amazon, often sold as a kit. This simple tool will dramatically cut down your anchoring time, allowing you to quickly secure your shelter and get on with fishing.
Streamlined Flip-Over Shelter Deployment
Flip-over shelters excel at rapid deployment because of their integrated design. While the initial investment might be higher, the time saved on the ice is often well worth it for mobile anglers.
Positioning and Opening
First, find your desired fishing spot. The beauty of a flip-over is that your entire setup – sled, shelter, and sometimes even your rods – is all in one place. Position the sled so the opening mechanism faces the direction you want to fish or enter/exit. Clear any significant snow or ice chunks from the area where the shelter will flip open.
Next, unlatch the clamps or straps that secure the shelter top to the sled. These are usually located on the sides or front of the sled. Once unlatched, grab the frame (often there's a grab bar or handles) and simply flip the entire fabric assembly over and back, away from the sled. It should rotate on a hinge system, extending to its full height and depth. This motion is usually very smooth, especially on well-maintained shelters. Ensure it's fully extended and the frame is locked into its upright position. Sometimes, a quick check of the locking pins or levers will confirm it's secure.
Extending Poles and Skirts
Once the main frame is flipped over, some models will have telescoping support poles that need to be extended and locked into place to add rigidity to the roof and walls. Extend these poles firmly until they click or lock. This prevents the roof from sagging and gives the shelter its full shape.
The next critical step for warmth and wind protection is extending the fabric skirts around the base of the shelter. These skirts are designed to lay flat on the ice, creating a seal against drafts and blowing snow. Pull them out tautly, ensuring there are no gaps. You can pile snow around the skirts to create an even better seal, which will significantly improve interior warmth. For a truly wind-resistant setup, securing the skirts firmly to the ice is essential. Some flip-over models feature integrated snow flaps that make this even easier, helping them perform as some of the Best Portable Ice Shelter for Windy Conditions.
Quick Anchoring
While flip-over shelters are inherently more stable than hub shelters during deployment due to their heavy sled base, they still need to be anchored in windy conditions to prevent them from shifting or tipping. Many flip-overs come with integrated anchor points or quick-release straps that attach directly to the sled.
Use your drill and ice anchor adapter to quickly secure these points. Often, just two or four anchors strategically placed on the windward side or at the corners are sufficient for a flip-over. In extreme wind, you might want to use additional anchors or pile heavy snow around the sled to prevent any movement. The speed of anchoring a flip-over is often even faster than a hub, as you're primarily securing the sled rather than multiple fabric points.
Essential Tools and Accessories for Speed
Having the right gear can make all the difference in how quickly and smoothly you set up your ice shelter. These aren't just luxuries; they're investments in your comfort and efficiency.
Power Drill and Ice Anchor Adapter
This combination is arguably the single greatest time-saver for setting up ice shelters, particularly hub styles. Manually screwing ice anchors into hard, thick ice is an exhausting and time-consuming chore that can quickly numb your fingers. A quality cordless drill (18V or higher is recommended) paired with a purpose-built ice anchor adapter allows you to drive anchors in seconds.
Look for a robust adapter that fits snugly into your drill chuck and has a durable head to grip the anchor. Many brands offer these, and they are readily available on platforms like Amazon. Ensure your drill battery is fully charged, and consider carrying a spare, especially for longer trips or in extreme cold where battery life can diminish. This setup not only saves time but also reduces physical strain, leaving you more energy for fishing.
Quality Ice Anchors
Not all ice anchors are created equal. Flimsy anchors can strip out, bend, or fail to grip the ice properly, leading to frustrating delays and an unstable shelter. Invest in heavy-duty, sharp-threaded ice anchors made from durable materials like steel. Look for designs that have a wide, aggressive thread pattern for maximum holding power.
Some anchors come with an ergonomic handle for manual use, which can be useful in a pinch, but the real speed comes from using them with a drill adapter. Good quality anchors will bite into the ice quickly and hold firm, even in high winds. Carrying a few extra anchors is always a good idea, as they can sometimes get lost or damaged on the ice.
Proper Lighting
Setting up your shelter in the pre-dawn hours or as dusk settles can be a challenge, especially when visibility is low due to blowing snow. Proper lighting is absolutely essential for speed and safety. A good headlamp is indispensable, freeing up both your hands to work on the shelter. Look for models with a bright beam, multiple lighting modes (including a red light option to preserve night vision), and a long-lasting battery.
In addition to a headlamp, a portable LED lantern or a battery-powered light bar placed inside the shelter as you set it up can provide crucial ambient light. This helps you see attachment points, tools, and prevent tripping hazards. Adequate lighting allows you to work quickly and confidently, even when the sun isn't cooperating. For more on this topic, check out Best Headlamp for Night Catfishing.
Sleds and Carriers
While not directly part of the shelter setup, an efficient way to transport your gear to your fishing spot significantly impacts overall speed. Dragging heavy, loose gear through deep snow is exhausting and slow. A durable ice fishing sled is a game-changer.
Look for a sled with high sides and a rugged bottom that can glide easily over snow and ice. Many anglers use rope harnesses to pull their sleds by hand, while others attach them to ATVs or snowmobiles. Some specialized sleds even come with built-in covers or organizer systems. The key is to have all your gear consolidated and easily movable, so you can quickly get it to the chosen location and start the setup process without wasting time and energy on multiple trips. Consider exploring options for Best Ice Fishing Sleds to find one that fits your needs.
Troubleshooting Common Setup Challenges
Even with the best gear and preparation, North Dakota's ice can throw some curveballs. Knowing how to quickly address common problems can prevent a minor hiccup from turning into a major ordeal.
Dealing with Wind
Wind is arguably the biggest nemesis of fast ice shelter setup. A strong gust can turn a lightweight hub shelter into an unmanageable sail, making it nearly impossible to pop the hubs or anchor effectively. The first line of defense is orientation: try to position your shelter so the longest side is into the wind, presenting the smallest profile during the initial setup phase.
When popping up a hub shelter in wind, the absolute fastest way is a team effort. Have one person hold down the windward side or corner while another extends the hubs. If alone, try to anchor one corner immediately after laying the shelter flat, even with a temporary anchor, before attempting to pop the hubs. Once the hubs are popped, anchor the upwind side or corners first and then work your way around. Don't be shy about using extra anchors if needed. A shelter that's anchored correctly will withstand incredible winds, but a poorly anchored one can quickly become damaged or blow away. You can learn more about managing wind in Fishing in North Dakota's Windy Conditions.
Frozen Fabric and Poles
Sub-zero temperatures can make even the most flexible materials stiff and uncooperative. Shelter fabric can become rigid, and telescoping poles might stick or be difficult to extend. Never try to force frozen components with excessive brute strength, as this can lead to broken poles or torn fabric.
Instead, try a gentle, firm approach. If the fabric is particularly stiff, give it a few gentle shakes or try to warm it slightly with your hands before attempting to extend the hubs or poles. For sticking poles, apply steady, even pressure. Sometimes, a slight twisting motion can help break the friction. A small amount of silicone lubricant applied to pole joints before the trip can also help prevent sticking in the cold. Always ensure your shelter is completely dry before packing it away after a trip to prevent ice formation in the joints and fabric, which can make the next setup even harder.
Snow and Ice Build-Up
Deep snow can obscure your fishing holes and make it difficult to lay your shelter flat and extend its skirts for a proper seal. Before deploying your shelter, take a moment to clear the immediate area of any significant snowdrifts. A wide shovel or even just your foot can quickly create a flat, clear surface.
Once your shelter is up, pay attention to the fabric skirts. These are crucial for blocking wind and retaining heat. If snow starts to build up around the skirts, take a few minutes to pile it up against the outside of the shelter. This "snow seal" acts as excellent insulation and prevents cold air from seeping in from below. During tear-down, always clear snow from the skirts and fabric before folding to prevent it from freezing into the material, which makes the next setup much harder.
Beyond Setup: Maintaining Efficiency on the Ice
While getting your shelter up fast is paramount, maintaining efficiency throughout your ice fishing day ensures maximum comfort and fishing success.
Heating Your Shelter Quickly
Once your shelter is set up, the next step to comfort is getting it warm. Have your portable heater easily accessible and ready to ignite. Place it in a safe, central location away from flammable materials. Many anglers use a small insulated pad under their heater to prevent it from melting directly into the ice or snow. Modern propane heaters can warm a small to medium-sized portable shelter in mere minutes, transforming it into a cozy fishing haven. Always ensure adequate ventilation when using propane heaters inside a shelter to prevent carbon monoxide buildup. For tips on choosing the right heater, refer to Best Portable Heater for an Ice Shelter.
Tear-Down Speed
Just as fast setup is important, so is efficient tear-down. When the bite slows or the day is ending, you want to pack up quickly, especially if the weather is deteriorating. Develop a routine for packing up your gear: consolidate your tackle, secure your rods, turn off and cool down your heater, then collapse and fold your shelter. Clear any snow or ice from the fabric before packing to prevent it from freezing and making the next setup difficult. A clean, organized pack-up means a faster, smoother start to your next ice fishing adventure.
Disclaimer
The information provided in this guide is for informational purposes only and should not be considered a substitute for professional advice or local regulations. Always prioritize safety on the ice, adhere to all North Dakota fishing regulations, and be aware of changing weather and ice conditions. Fishing on ice carries inherent risks, and it is the responsibility of each individual to assess their own safety and take appropriate precautions.